Reporting Engine
Last updated on 2026-05-14
Overview
In the Reporting Engine workspace, you can compile individual reports for data analysis if you have the appropriate permissions. Examples include indicator analyses or complex posting documents. Both the calculation logic and the design of a custom report can be defined individually using templates. These individual reports can be stored as a custom standard and retrieved at any time.
This article contains the following sections:
Navigation
The Reporting Engine workspace can be found under Reporting | Reporting Engine.
The Reporting Engine workspace is displayed, for example, as follows:

Basic Steps
To use a custom report in Income Taxes, the following basic steps must be performed:
- Create a report template (see Creating a Template).
- Configure the report template (see Configuring a Report Template).
- Upload the report template to Income Taxes (see Uploading the Template).
- Execute the report (see Executing the Report).
Creating a Template
Report templates are based on MS Excel. You must therefore first open an empty workbook in MS Excel. While it is executed, the report template must be able to load information (calculation data, master data) from Income Taxes. To do this, you must create a worksheet named config in the Excel workbook.
There are two ways of loading information from Income Taxes:
- Reading existing standard reports from the Tax Reports workspace (see Creating a Template Based on Standard Reports).
- Reading database contents using SQL queries (Creating a Template Based on SQL Statements).
Creating a Template Based on Standard Reports
To build on existing reports, the technical ID of the relevant report must be determined first. The report is then used in the configuration of the report template.
Determining IDs
To determine the ID of a standard report:
Open the Tax Reports workspace in the Reporting functional area.
In the Tax Reports workspace, click Export as Excel.

In the Excel file, find the row with the desired report ID in the ID column.
Configuring a Report Template
- In the Excel template, open the config worksheet.
- Enter the report IDs to be used in column A.
Note: It is crucial to specify the report IDs. If no report IDs are available, the next steps will not be able to be performed. - Define the name of the output report in column B. The name may be a maximum of 28 characters long.
- Optionally, you can define the period type to be evaluated in column C. Choose one of the following options:
- <empty>: period currently chosen
- PRIOR: previous period of the period currently chosen
- COMPARE: the comparison period chosen when the report is executed
- TRUEUP: true-up period of the period currently chosen
- PRIORTRUEUP: true-up period of the previous period of the period currently chosen

Creating a Template Based on SQL SELECT Statements
In your Excel template, switch to the config worksheet.
The text in column A must begin with SELECT or DECLARE.
Information on the SELECT statement is provided by Lucanet upon request. If necessary, contact your Lucanet consultant.
Define the name of the output report in column B. The name may be a maximum of 28 characters long.
Optionally, you can define in columns C ff. what the question mark placeholders is to be replaced with if the SELECT statement was defined with the ? operator. The value in column C therefore replaces the first ?, the value in column D replaces the second ?, etc. The following options are available:
- PERIODID: period currently chosen
- PERIODID_PRIOR: previous period of the period currently chosen
- COMPARE: the comparison period chosen when the report is executed.
- PERIODID_CURRENT_TRUEUP: true-up period of the period currently chosen
- PERIODID_TRUEUP: true-up period of the previous period of the period currently chosen
- UNITID: unit ID of the company currently chosen

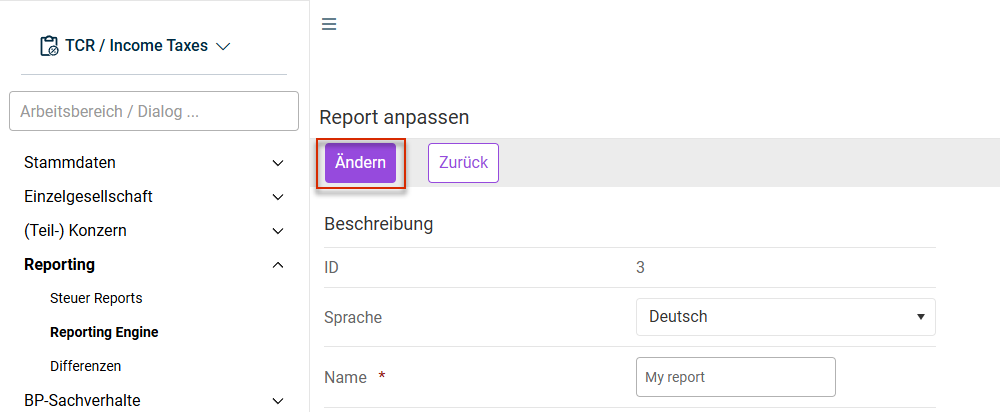
Uploading the Template to Income Taxes
- Open the Reporting Engine workspace in the Reporting area.
- Click Create report.
- Enter a name for the report.
- Click Create report.
- Additional input fields are displayed:
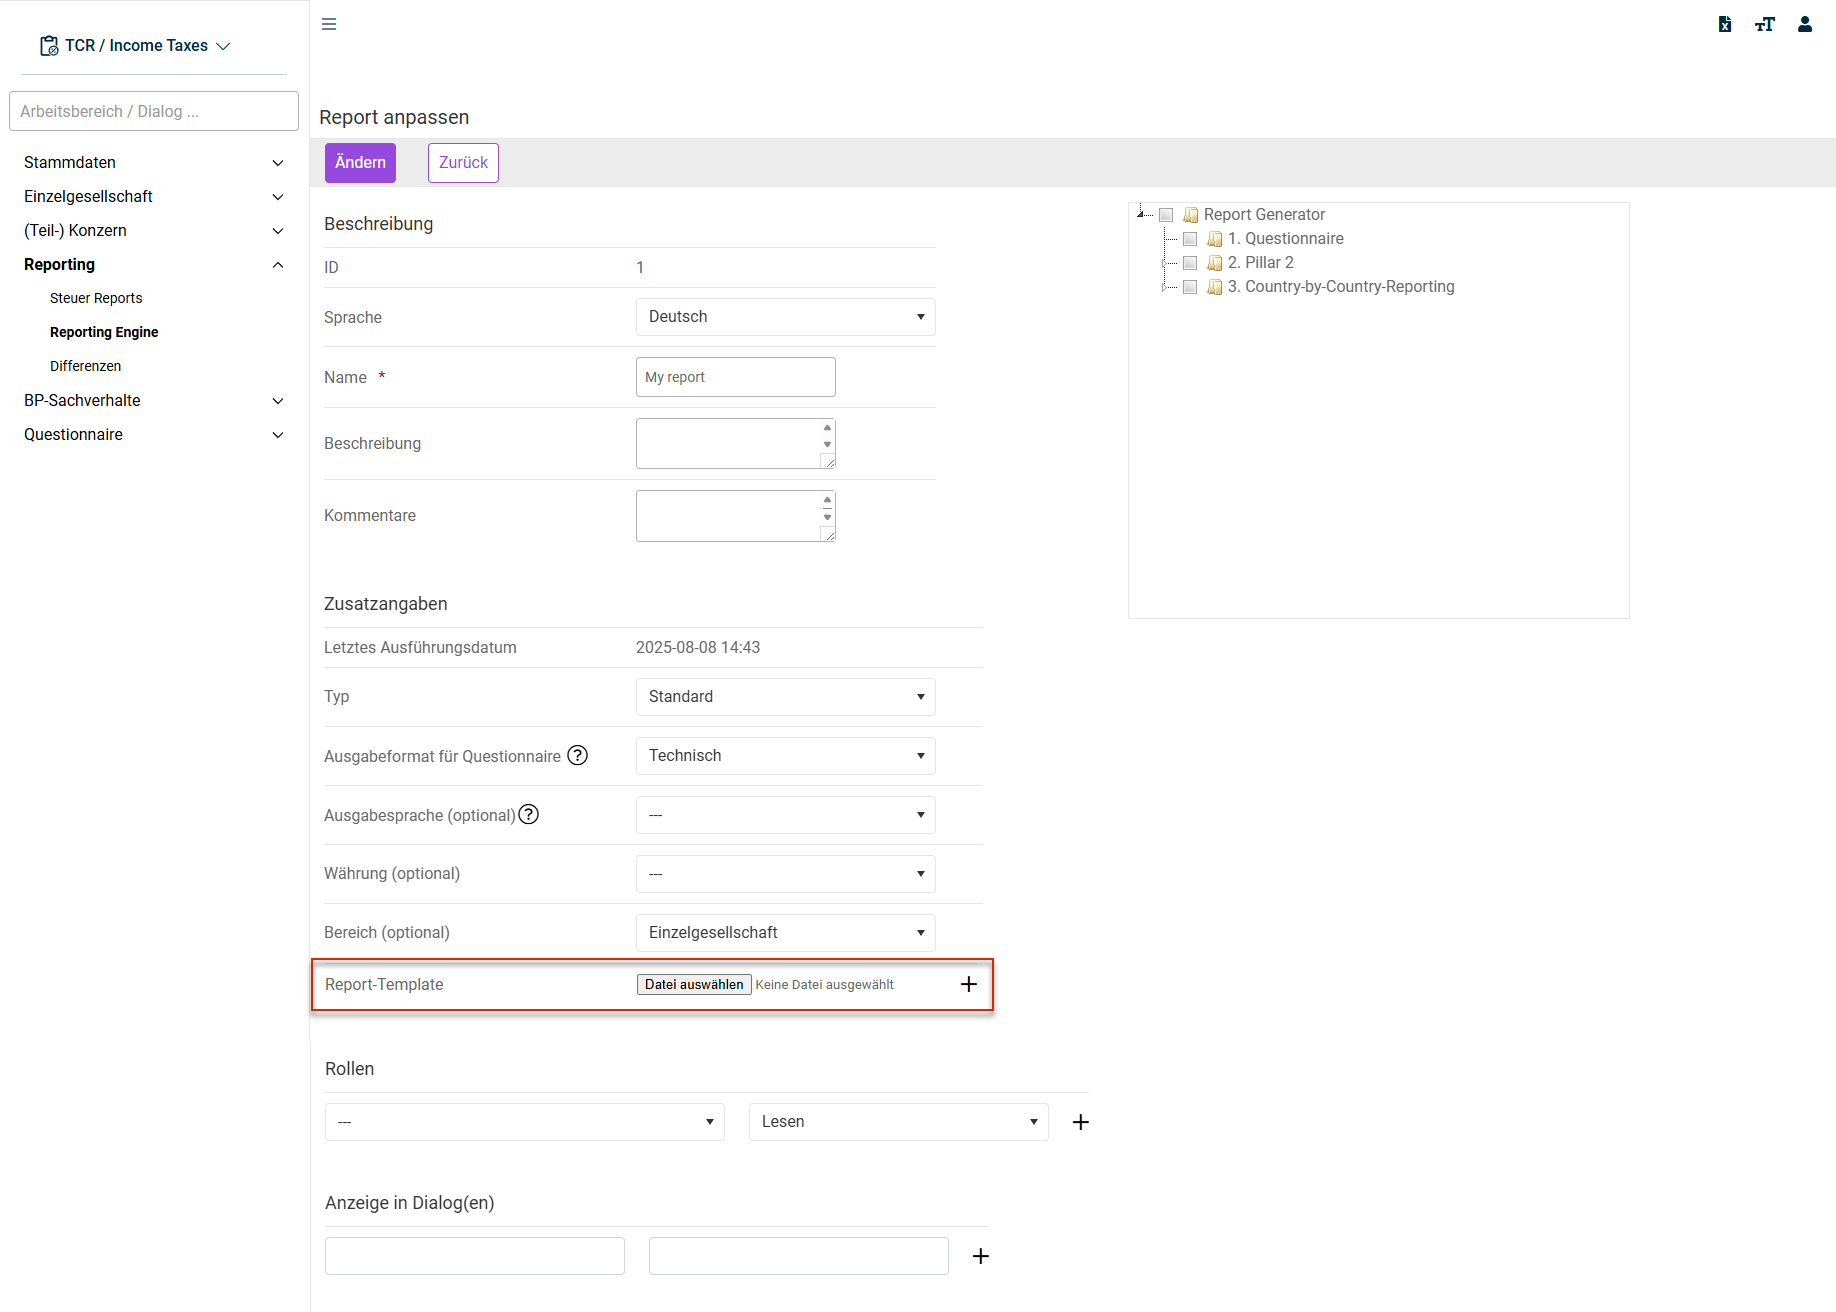 Configuring a custom report
 - Configure the input fields (see also the following section).
- Under Report template, select the Excel template.
- Confirm the upload by clicking the + icon next to the file name.
Using 'Additional information' to Control Access to Custom Reports
In the Additional information section, you can control access to your reports using Type and Roles:
Type
Various report types can be created:
- Default
- Individual
- Export
A report created as an individual report is user specific and therefore cannot be viewed or executed by any other user.
Export reports are reports that can be linked to the Export function in the Company/Export area and/or triggered automatically (see also Robotics).
Roles
Access to standard and export reports can also be controlled by means of assigned roles.
- If no role is assigned to the respective report, all users who have general permission to execute custom reports will be able to access it.
- If the report is to be allowed to be read only by specific roles (including the right to execute the report), the read permission will be assigned to a specific role.
- If the report is intended to be allowed to be edited only by specific roles, the write permission will be assigned to a specific role.
Example:
For example, the export report Posting Document IFRS Annual Report is always intended to be allowed to be executed automatically via the Export dialog, but only the posting document experts from headquarters are intended to be allowed to edit the underlying export report. In this case, the export report Posting Document IFRS Annual Report will be assigned a Edit posting document role with the Write attribute.
Integrating Custom Reports
Custom reports can be displayed and executed in the chosen company workspace by assigning a combination of workspace and form set. This means it is not necessary to switch to the Reporting workspace during ongoing editing to execute a custom report.
Proceed as follows:
- If necessary, go to Reporting and switch to the Reporting Engine workspace.
- Choose the desired elements from the left drop-down list in the Display in dialogue(s) area. Multiple elements can be chosen simultaneously.
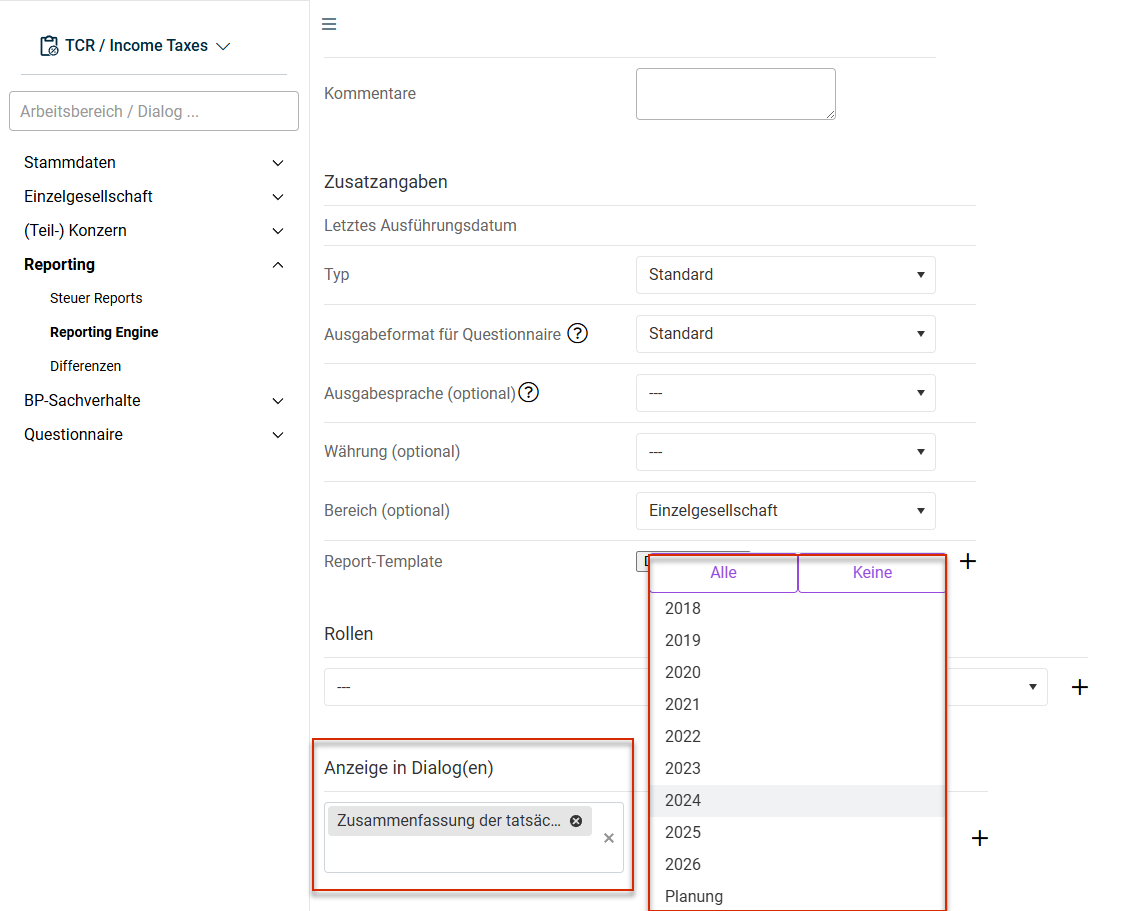 Integrating a report in calculation dialogs
 - You can use the right drop-down list to control the periods in which the reports are displayed in the dialogs. In general, this function is available for periods with a 2018 tax form or later, or in planning periods.
- Save the assignment by clicking the + icon.
Executing a Custom Report
There are two ways of executing a custom report: in the Reporting Engine workspace and with direct links in the calculation dialogs.
Executing Reports in the 'Reporting Engine' Workspace
In the Reporting Engine workspace, proceed as follows:
If necessary, switch to the Reporting Engine workspace.
Click the ![]() icon in the Execute report column.
icon in the Execute report column.

Click the displayed message or open the Report Repository using the icon at the top right to download the created report.
Executing Reports in Workspaces for Calculation
If reports have been assigned to a workspace for calculations and a tax form, you can execute these reports directly from the workspace.
Example: The report Short Local Tax Calculation (Kurzberechnung GewSt) is assigned to the GewSt 1 A workspace and the 2020 tax form. You can access this report directly in GewSt 1 A for a period with the 2020 tax form.
The Report erstellen … (Create report …) button is displayed in the workspace only if the following conditions are met:
- Reports are assigned to the workspace in the current period.
- You have the permissions required to execute reports.
Proceed as follows:
Click Report erstellen (Create report) in the workspace for calculations. A list of the assigned reports and the entry Weitere Reports (More reports) are displayed.
Choose one of the following options:
- Direktes Ausführen (Direct execution): Click the name of the report. The execution is triggered with the Current period and aktuelle Gesellschaft (Current company) parameters.
- Ausführen mit zusätzlichen Parametern (Execution with additional parameters): Click Weitere Reports (More reports). A pop-up dialog appears from which you can – as in the Reporting Engine workspace – choose additional parameters, e. g. the comparison period and the area.
If no special parameters are required, it is sufficient to click the report name directly.
After executing it, download and open the report as usual in the Report Repository.
Editing a Custom Report
To edit an existing report:
- Find the entry with the custom report in the overview and click the pencil icon
 to switch to edit mode.
 - Download the Excel template by directly clicking the file name.
- Save the file locally. You can now edit the Excel spreadsheet as desired and save it again.
- Upload the new template by choosing the Excel template under Report template.
- Confirm the upload by clicking the + icon next to the file name.
- Save your entries by clicking the Update button.
 Changing the properties of a custom report
 - The modified report can be executed.
Integrating Individual Analyses
In MS Excel, you can create a new sheet at any time in which additional data from Income Taxes can be displayed clearly. You can add as many additional sheets with custom analyses as you like:

You must upload the template again after finalizing it.
- Find the entry with the custom report in the report table and click the pencil icon to switch to edit mode.
- Delete the old version of the template by clicking the recycling bin icon
 next to the file name.
 - To do this, choose the Excel template to be uploaded under Report template.
- Confirm the upload by clicking the + icon next to the file name. The individual report has been maintained successfully in Income Taxes.
The custom report is created with current data in combination with the chosen parameters each time it is executed. The updated data are displayed on the custom worksheet by linking it by means of formulas to the Income Taxes queries.
Notes on Creating Custom Reports
Observe the following notes:
- When selecting reports, make sure that reports from different period types are not mixed. For example, reports from planning periods cannot be used in Closing v3 periods.
- The more extensive (number of analyses, formulas, companies, ...) your custom report is, the longer the execution of the report will take.
- When using parameters such as Period to compare, FX Code, and Scope, you must observe that not all reports used necessarily support these parameters.
You can check whether a report supports a parameter in the table in the Tax Reports workspace. Yes means that a parameter is supported. No means that the parameter is not supported:
