Creating and Editing Chapters
Last updated on 2025-08-18
Overview
For a document managed by Disclosure Management, you can create as many chapters and chapter levels as you need to structure the document hierarchically.
Each individual chapter will be displayed in its own row in the Cockpit. One Excel document and one Word document can be stored for each chapter.
This article contains the following sections:
- In the overview of a document, click Manage chapters to open the workspace:
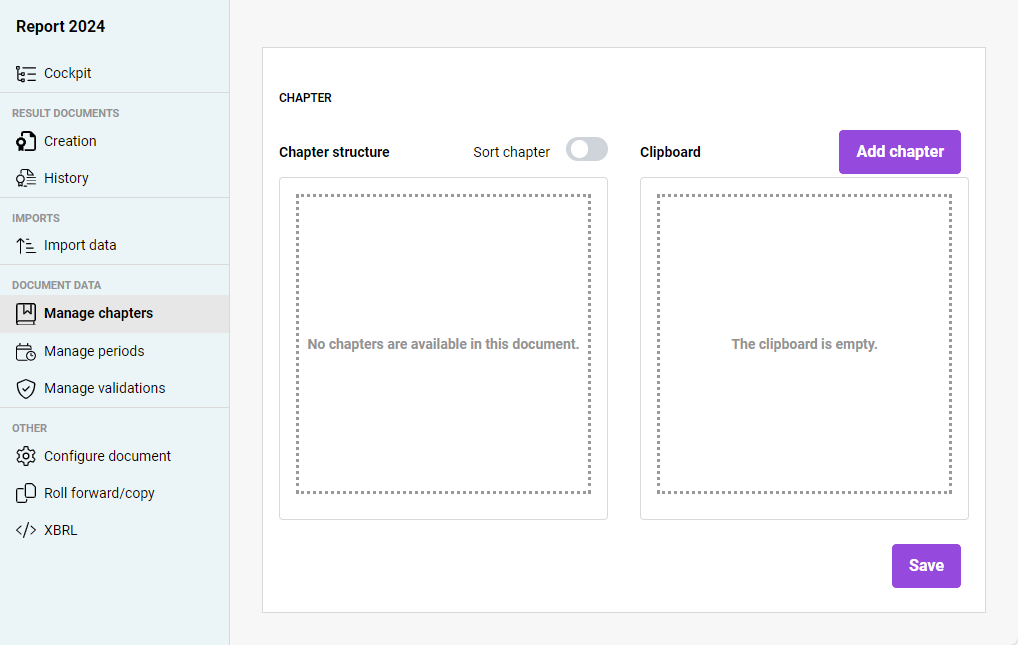
Detail view of chapter management - Click Add chapter to create a new chapter. The editing mode of the Clipboard area will be activated automatically.
- Enter the chapter name in the Clipboard and then click an empty area in the Clipboard.
You can change the chapter name at a later time by clicking the pencil icon ![]() .
.
You have the following options for arranging chapters:
- Moving chapters to the chapter structure: Select the chapter you want to move, and move the chapter from the Clipboard to the Chapter structure while keeping the right mouse button pressed.
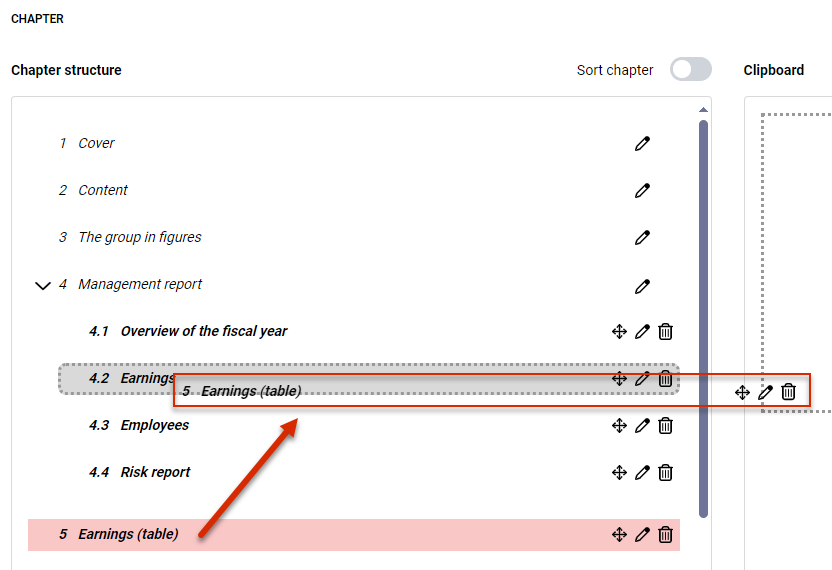
- Creating subchapters: To create subchapters, move the desired chapter directly below the superordinate chapter while keeping the right mouse button pressed. A gray dotted box will help you navigate:
Example: moving chapter 5 below chapter 4.2 - Changing the order of chapters: By default, once subchapters have been created, only the order of the subchapters can be changed. To also change the order of chapters at the upper level, activate the Sort chapter option:

Option for changing the order of chapters
- Read and write permissions can be defined for chapters. You can only edit chapters for which you have editing permissions. For more information, see chapter Creating and editing user roles for disclosure management.
- For information on editing chapters, see Cockpit in the section Edit chapter.