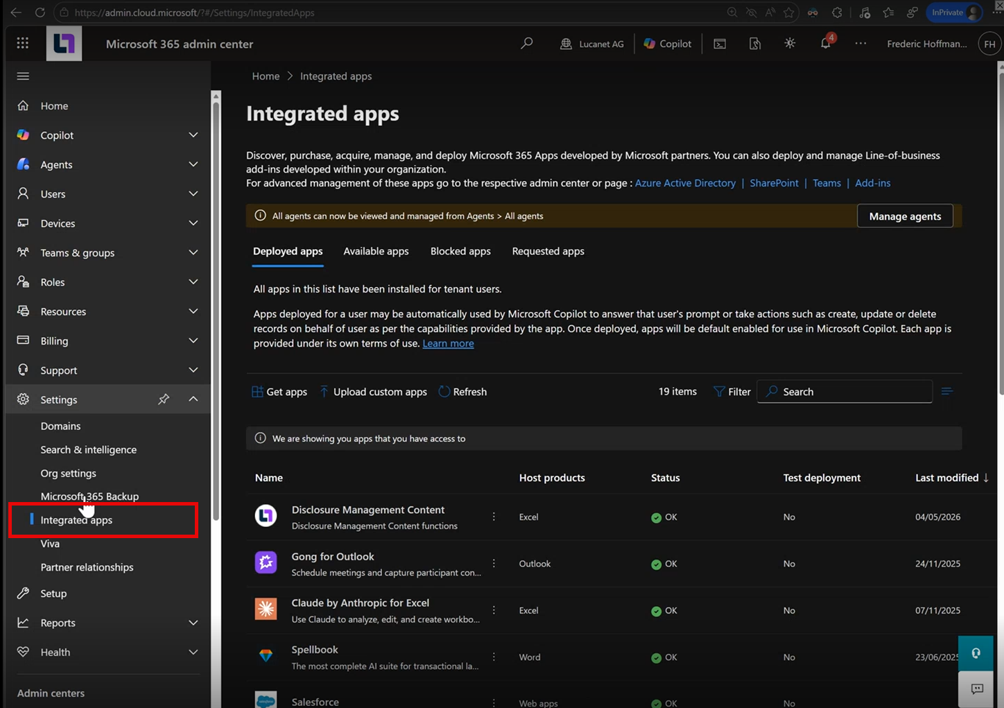
The IT department configures the variant centrally for the entire company in Office Management Each user configures the variant locally.
Everyone Specific users/groups Just me

Everyone Specific users/groups Just me
Right-click the manifest folder and select Properties Go to Sharing | Advanced Sharing Enable Share this folder Copy the resulting network share path, for example \\YOUR-PC\OfficeAddinManifests
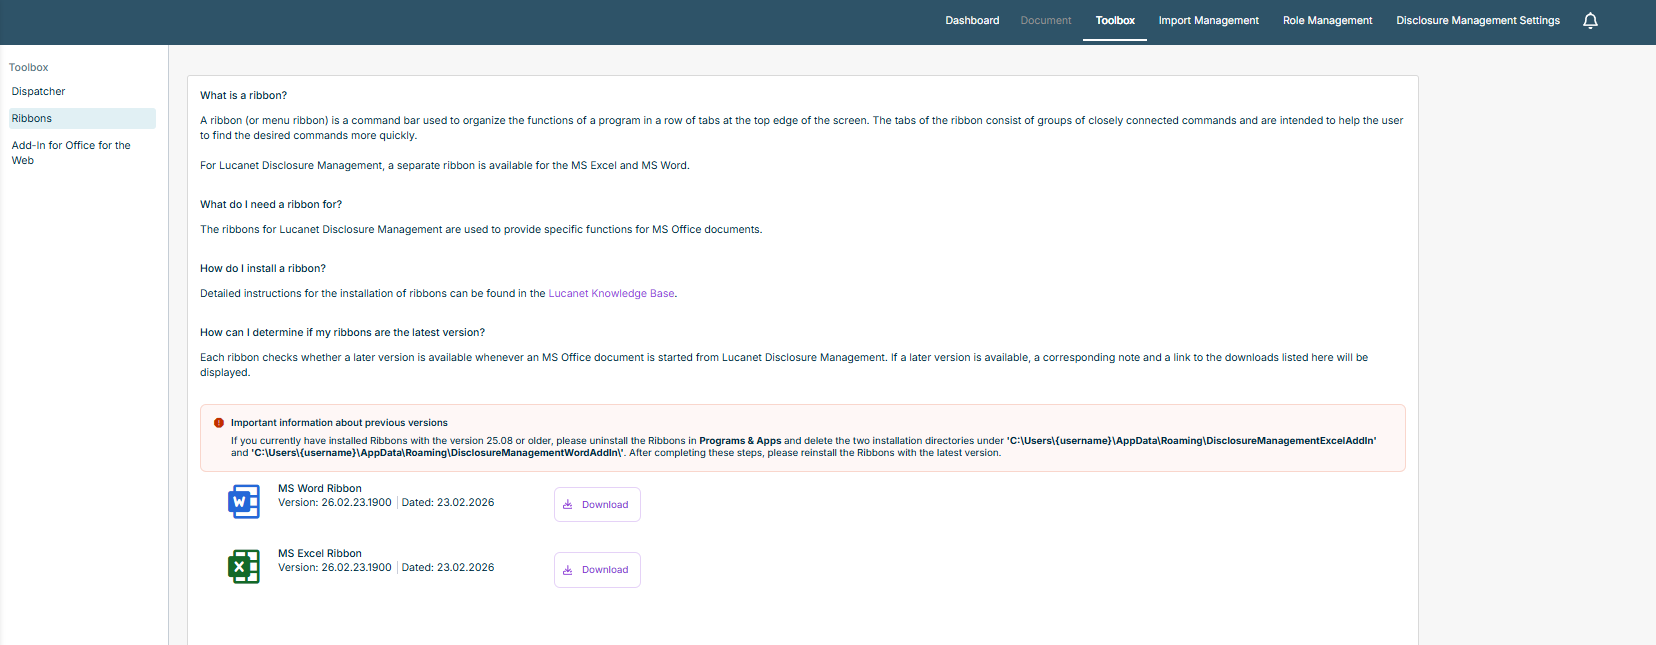
Open MS Word Go to File | Options Select Trust Center Click Trust Center Settings Go to Trusted Add-in Catalogs Paste the network share path into the Catalog URL Add Catalog In the Trusted Catalogs Show in Menu OK Restart MS Office.
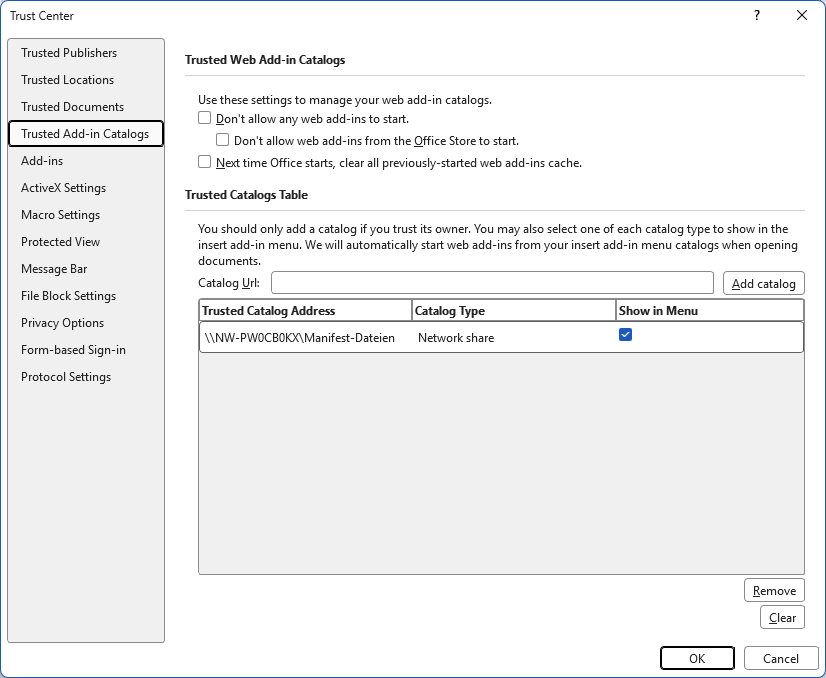

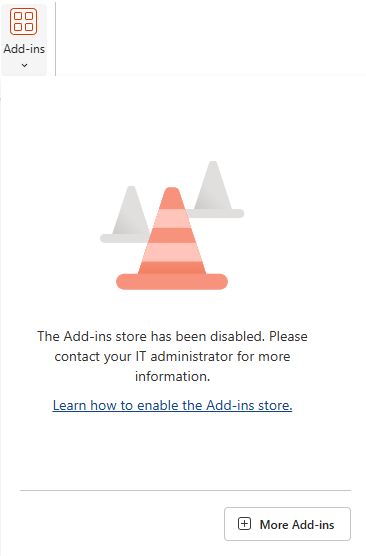
Add the shared folder under File | Options | Trust Center | Trust Center Settings | Trusted Add-in Catalogs Then load the add-in via Home | Add-ins


Windows 64-bit version Microsoft dotNet 8.0.0


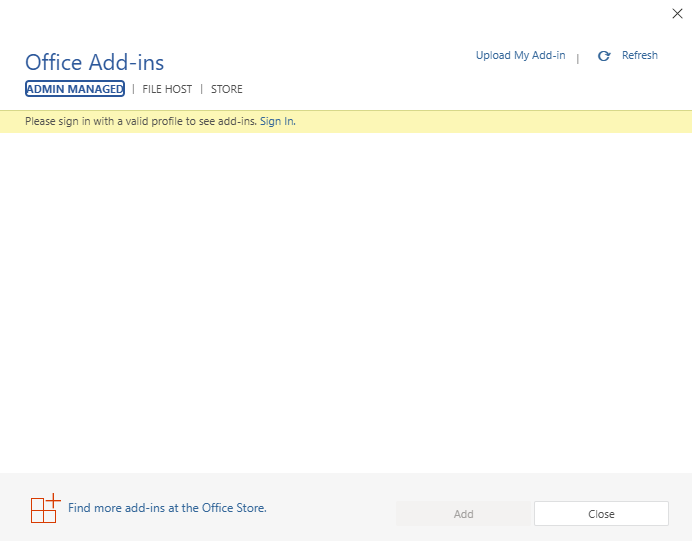
In MS Word: 
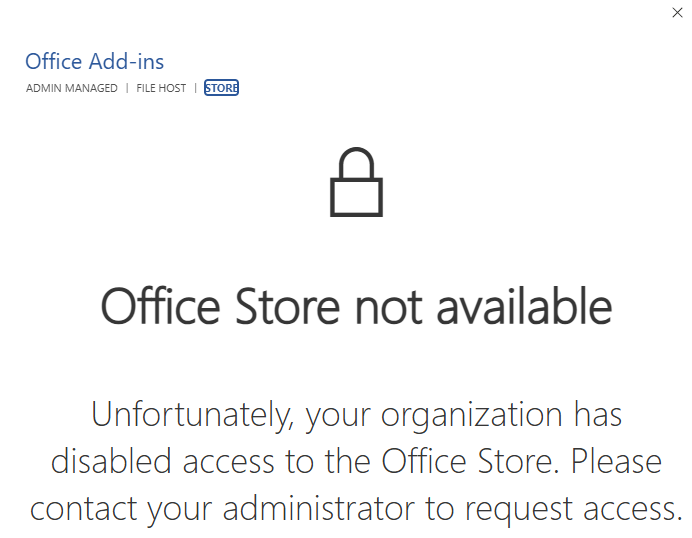
In MS Excel: 
Last updated on Aug 16, 2023