Installing the CFP Add-in for Excel 365
Last updated on 2025-11-04
Overview
To be able to work with the CFP Add-in for Excel 365, you first need to install the add-in in MS Excel. After having successfully installed the add-in, you can connect the add-in to your Lucanet database.
The Lucanet CFP Add-in for Excel can only be used with the Consolidation & Financial Planning solution in the Lucanet CFO Solution Platform.
The add-in cannot be used with Lucanet.Financial Client.
This article contains the following sections:
Installing the CFP Add-in for Excel 365
Proceed as follows:
- Open MS Excel (in your browser or locally).
- On the Excel ribbon menu, open the Home tab.
- Open the Add-ins drop-down menu and search for the Lucanet CFP Add-in for Excel 365.
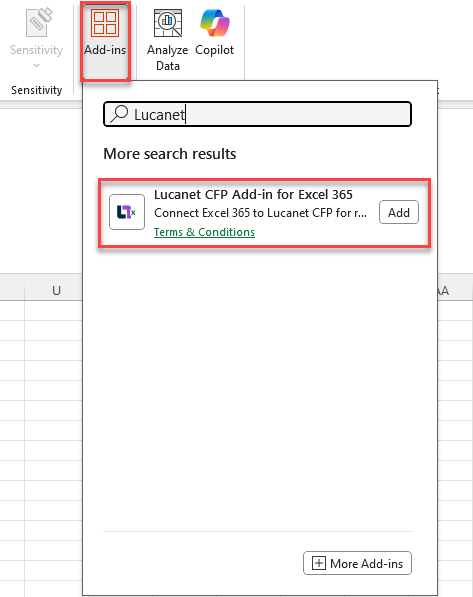
Searching for the add-in in MS Excel - Click Add to add the add-in.
After the installation, the add-in is displayed as a new ribbon menu in MS Excel:

Connecting the CFP Add-in for Excel 365 to Lucanet
Proceed as follows to connect the CFP Add-in for Excel 365 to your Lucanet database:
- Open the Lucanet CFP Add-in ribbon menu and click Log in.
- Copy the URL of your Lucanet database from the Lucanet CFO Solution Platform.
- In the Lucanet CFP Add-in panel on the right-hand side, paste the URL and click Login.
