Connecting to a Source System Using a Webhook

Overview

This instruction explains how to set up a data source in xP&A to receive data from external source systems using a webhook.

A webhook is an automated way for one application to send data to another application in real time. i. e. once new data is available in the source system (e.g. Looker), the webhook automatically delivers that data to xP&A.

Unlike manual data imports where you download and upload files yourself, webhooks work automatically in the background once configured.

Conecting to a data source using a webhook entails the following steps, which are described in the following:

Creating a Webhook data source in xP&A

Configuring your source system to send data to xP&A

Sending or refreshing data

Optionally, you can configure dimension mappings.

Definitions

The following concepts play a role when using a webhook connection:


Option

Description


Webhook

An automated connection that sends data from one system to another when triggered. In tis case, the trigger is new data being available.


Webhook URL

A unique web address generated by xP&A. External systems send data to this address (using an HTTP Post request) and xP&A requests the data from this address as soon as new data is available.

Each webhook data source has its own URL.


JSON

A standardized data format that systems use to exchange information. 

You do not need to create JSON files manually—your source system (e.g., Looker) generates them automatically and sends them to the Webhook URL.


Key

A label that identifies a specific piece of data (e. g. "Country" or "Customer"). Keys help xP&A understand what each value in your data represents.


Prerequisites

Before you begin, make sure you have:

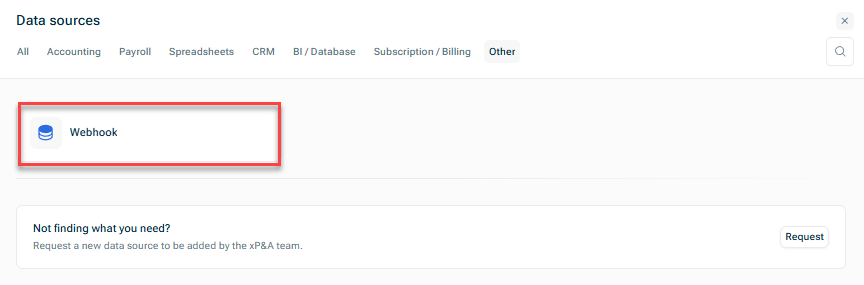
  • Access to your xP&A account with permissions to create data sources
  • Access to the external system that will send data
  • Knowledge of the data structure you want to import (column names, data types)
Creating a Webhook Data Source in xP&A

To create a webhook data source in xP&A:

Choose one of the following options:

  • Open the Data workspace from the overview on the start page and click + New.
Shows the start page of Lucanet xP&A. Highlighted are the buttons that need to be used to create a new data source connection from the start page.
New data source connection from the Data workspace
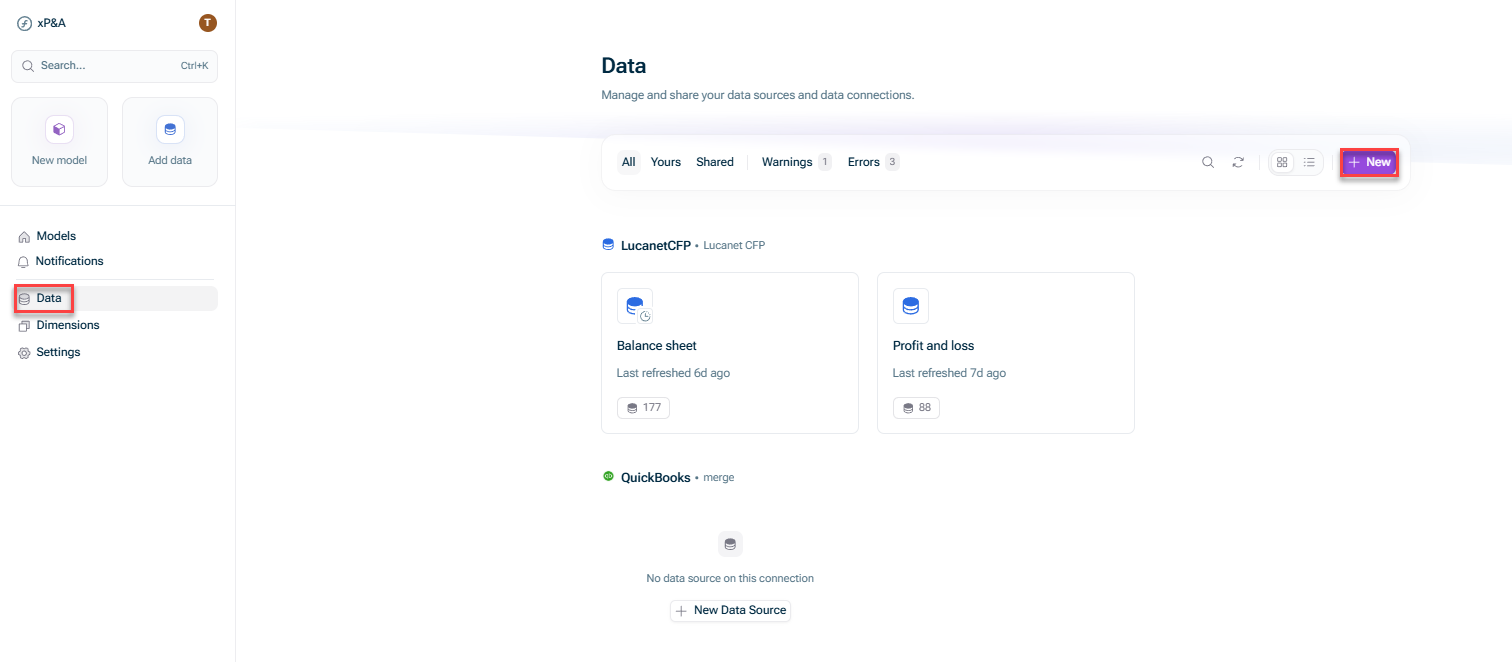
  • Open the model into which you would like to integrate the data, click the + sign next to Data in the overview, and choose New data source:
Shows the view of a model. Highlighted are the buttons that need to be used to create a new data source connection from the model view.
New data source connection from within a model

In the Data sources dialog, open the Other tab and choose Webhook.

Shows the 'Data Sources' dialog. Highlighted is the Webhook Data source option on the lasttab 'Others'
Creating a new Webhook data source

The New Data Source dialog is displayed as follows:

Shows the 'New Data Source' dialog for a Webhook connection The 'New Data Source' dialog for Webhook

Configure the fields as described in the following section.

Click Create webhook data source.

The created Webhook URL will be displayed in the dialog.

Copy the Webhook URL and proceed with the step Configuring Your Source System to Send Data to xP&A.

Treat the Webhook URL and its token part with caution: Anyone can post updates to the created data source using this token.

Fields

Configure the following fields in the New Data Source dialog for a Webhook. The keys identify the data that are pulled in from the data source.


Option

Description


Data Source Name

Name of the data source


Data array key

The key under which your data records are stored in the JSON.

Example: data

For Looker, this is always data


Date key

  • The name of the column that contains dates.
  • Values must be strings that can be parsed as dates.
  • Specifies which field in each data entry contains the timestamp for the entire entry. The date key tells xP&A which field in your Webhook JSON represents when the data entry occurred. This date is used to place all the numeric variables from that entry at the correct point in time in your model.


Example: Posting date


Cohort key

  • The name of the column that contains cohort information. Leave empty if not applicable.
  • Values must be strings that can be parsed as dates.

Keys of variables

  • The names of the columns that contain numeric values. 
  • Press Enter after each name to add multiple variables.
  • Values must be numbers.
  • Missing keys will be treated as zeros.


Example: Customers


Keys of date variables

  • Specifies which fields in each entry are date-type variables (the value itself IS a date). 
  • Keys of date variables are used when you have variables whose values are dates - not numbers. These become date-formatted variables in your model.

Keys of dimensions

  • The names of the columns that contain dimensions. 
  • Press Enter after each name to add multiple variables.
  • Values must be string.


Example: Country


Configuring Your Source System to Send Data to xP&A

After you have copied the Webhook URL from the data source set-up page in xP&A, you need to configure your source system to send the data to the Webhook URL.

The procedure for this set-up depends on your source system. In the following, we describe the set-up steps for the source system Looker.


Example: Configuring Looker

To set-up a Webhook connection in Looker, proceed as follows:

In Looker, open the Look or Dashboard you want to send to xP&A.

Set up a scheduled delivery.

Select Webhook as the delivery destination.

Paste the Webhook URL from xP&A into the destination field.

Save and activate the schedule.


For detailed Looker configuration, see Looker.

Sending or Refreshing Data

After configuring your source system, trigger a data transmission from your source system (or wait for the scheduled transmission, in case you configured one.)

After that, go to the Data workspace in xP&A and refresh your Webhook data source.

Each time new data is sent to the Webhook URL, it overwrites the previous data. Therefore, make sure your source system sends complete datasets.

Configure Dimension Mappings

Just like spreadsheet data sources (e.g. time series with dimensions), you can also use dimension mappings for webhook data sources. For example, if you have an Employee dimension and every employee belongs to a Department.

For more information, see Linking Dimensions from a Data Source.

Troubleshooting

In case data does not appear in xP&A, verify that the Webhook URL is correct in your source system. Check if the data was sent successfully by reviewing the source system's logs.

In case of incorrect data structure, click Edit on your Webhook data source, then click View last uploaded data to see the raw JSON format. Verify that your keys match the actual data structure.

If values are missing, ensure all required keys (Date key, Variable keys) are configured correctly and match the column names in your source data exactly.

Contact Us