Form templates are the foundation of data collection in Data Collection. A form template defines the structure and layout of the data you want to collect from reporting entities. You can configure your form templates by adding elements that are based on Consolidation & Financial Planning structures, or by creating them from scratch.

To create a form template:

1

Navigate to Data Collection | Form templates.

2

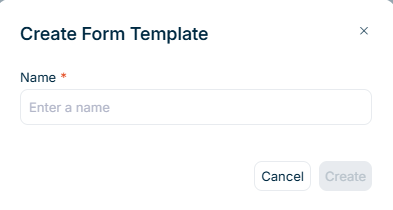
Click Create form template in the top right. The Create Form Template dialog is displayed:

The 'Create Form Template' dialog is displayed.
'Create Form Template' dialog
3

Enter a unique Name for your form template.

4

Click Create. The form template detail view opens, where you can build your form by adding sections and elements.

After creating a form template, you configure it by adding instructions, adding sections, adding elements to those sections, and setting the configuration options for each element.

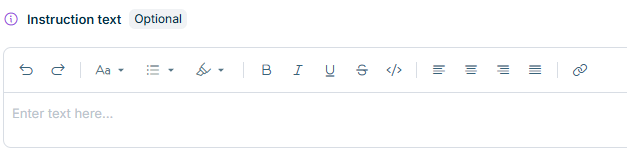
The Instructions field in the detail view of a form lets you add optional guidance for collectors. Collectors access the instructions via the Show instructions button in the form header, which opens a dialog displaying the instruction text.

The 'Instructions' rich text editor is displayed in the form template designer.
'Instructions' field

The instructions are copied to each form when the data collection process starts. Subsequent edits to the form template do not affect forms that have already been created.

A form template consists of sections that contain elements. Sections help organize your form into logical groups, while elements are the individual data entry fields within each section. To build your form template, first add one or more sections, then add elements to each section.

To add a section:

1

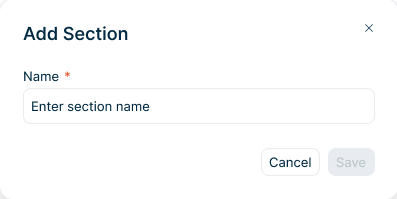
In the Form structure panel, click + Add section. The Add Section dialog is displayed:

The 'Add Section' dialog is displayed.
'Add Section' dialog
2

Enter a unique Name for the section within the form template.

3

Click Save to create the section.

Once you have created a section, you can add elements to it.

To add an element:

1

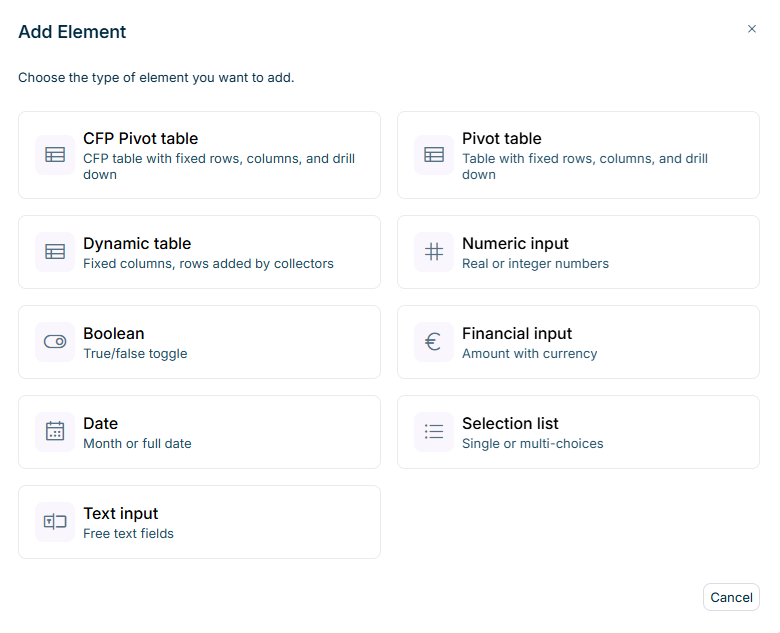
In the section, click + Add element. The Add Element dialog is displayed:

The 'Add Element' dialog is displayed.
'Add Element' dialog
2

Select the type of element you want to add. The selected element is added to the section.

The following elements are available when creating a form template:

ElementDescription
CFP Pivot tableA table whose row structure is imported from a Consolidation & Financial Planning workspace, with fixed rows and columns
Pivot tableA custom table with fixed rows and columns
Dynamic tableA table where collectors add, duplicate, and remove rows themselves during data collection, up to a configured maximum. See Entering Data for the collector workflow.
Text inputA text entry field where collectors type free-form text, such as comments or descriptions
Numeric inputA number entry field where collectors enter quantities or counts
Financial inputA monetary amount entry field; the currency is taken from the reporting entity at collection time and is configured in CFP
DateA date picker where collectors select a date, month, or year
BooleanA check box that collectors activate or deactivate to indicate a yes/no answer
Selection listA drop-down list from which collectors select one or more options from a predefined list

For Pivot table, CFP Pivot table, and Dynamic table, you also configure the table structure — columns, rows, and drill down — on the table itself (see Configuring Tables in Form Templates).

For Text input, Numeric input, Financial input, Date, Boolean, and Selection list, see Entering Data for the collector workflow.

To configure an existing element:

1

In the form template detail view, click the element you want to configure.

2

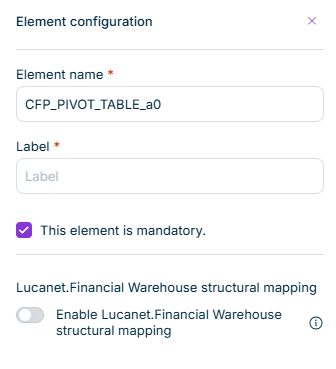
Click the cog-wheel icon on the selected element. The Element configuration panel is displayed on the right:

The 'Element configuration' panel is displayed on the right.
'Element configuration' panel
3

Configure the element as needed (see the configuration options below).

4

Click Apply changes to save the configuration.

The following configuration options are available in the Element configuration panel. Options marked with an asterisk (*) are required for the element type they apply to. The remaining options either apply to specific element types or are optional.

FieldDescriptionAvailable for
Element name *A unique identifier for the element within the form template.All elements
Label *The display name shown to collectors. The label must be unique within the template for each language.All elements
This element is mandatoryWhen activated, collectors must complete this element before submitting the form.All elements
Enable Lucanet.Financial Warehouse structural mappingWhen enabled, the table can receive data from Lucanet.Financial Warehouse during data collection. See Importing Data from Lucanet.Financial Warehouse for the full configuration and import workflow.Pivot table, CFP Pivot table
Formula precedenceDetermines which formula's result is displayed when a cell falls at the intersection of a formula row and a formula column. Select Column or Row. Appears only when the table has at least one formula row and one formula column.Pivot table, CFP Pivot table
Maximum number of rows *The maximum number of rows a collector can add to this table. Positive integer.Dynamic table
Maximum number of characters *The maximum number of characters a collector can enter. Must be a positive integer greater than zero.Text input
Check box text *The text displayed next to the check boxBoolean
Selection type *Defines whether collectors can select one value (Single select) or multiple values (Multi select) from the list.Selection list
Maximum number of decimals *The maximum number of decimal places for entered values. Must be a non-negative integer.Numeric input, Financial input
Allow negative valuesWhen activated, collectors can enter negative numbers. Deactivated by default.Numeric input, Financial input
Date formatThe level of date precision collectors select: Full date (day, month, and year), Month and year or Year. Defaults to full date if not configured.Date

You can duplicate an existing element to reuse its configuration without recreating it from scratch. The duplicate inherits all properties of the original — element type, configuration, mappings, required-field status, and all language labels — and is placed immediately after the original element in the same section.

Element duplication is available only while the form template is in Draft state.

To duplicate an element:

1

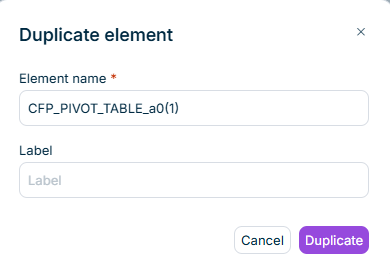
Click the Duplicate icon in the top right corner of the element. The Duplicate Element dialog is displayed:

The 'Duplicate Element' dialog is displayed.
'Duplicate Element' dialog
2

The system adds a suffix (for example, (1)) to the Element name. Review the proposed name, and add a Label, if applicable.

You can change the element name and label later in the Element configuration panel.

3

Click Duplicate. The new element appears immediately after the original.

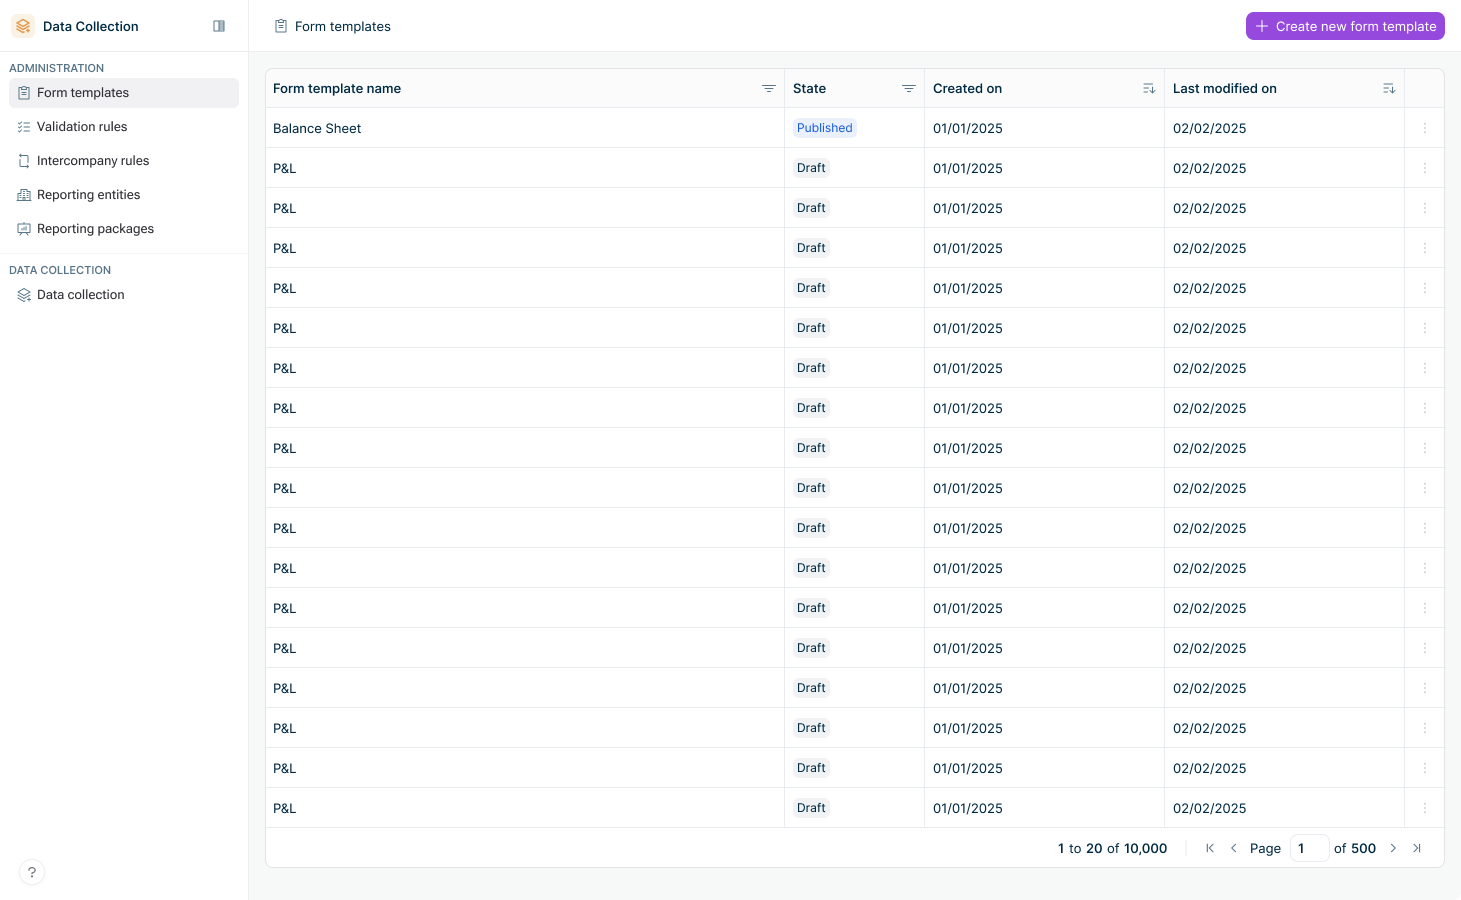
The form templates list displays all configured templates with the following information:

A Form templates list is displayed.
Form templates list
FieldDescription
Form template nameThe name of the form template.
StateThe current state of the form template: Draft or Published.
Created onThe creation date.
Last modified onThe date of the most recent modification.

How you open a form template for editing depends on its state. In both cases, you use the three-dot menu at the end of the respective form template row.

For a form template in Draft state, select Edit. The form template opens in edit mode and you can make any number of modifications.

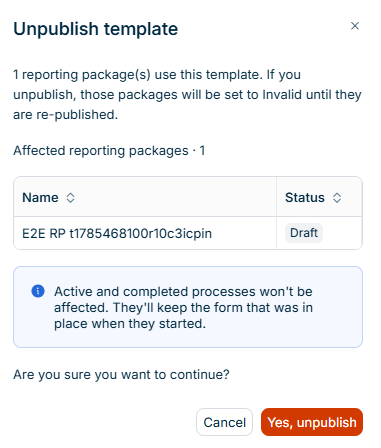
For a form template in Published state, select View details, and then click Edit in the top right corner. A published form template must be unpublished before you can edit it, so if the form template is linked to one or more reporting packages, the Unpublish template confirmation dialog is displayed. The dialog lists all affected reporting packages and their current status.

The 'Unpublish template' confirmation dialog is displayed, listing the affected reporting packages and their status.
'Unpublish template' confirmation dialog

Click Yes, unpublish to proceed. The form template moves to Draft state and can be edited, and the listed reporting packages move to Invalid status. To make the form template and its reporting packages usable again, republish them (see Publishing a Form Template).

Active and completed data collection processes are not affected — each process continues using the form template state that was snapshotted when it started.

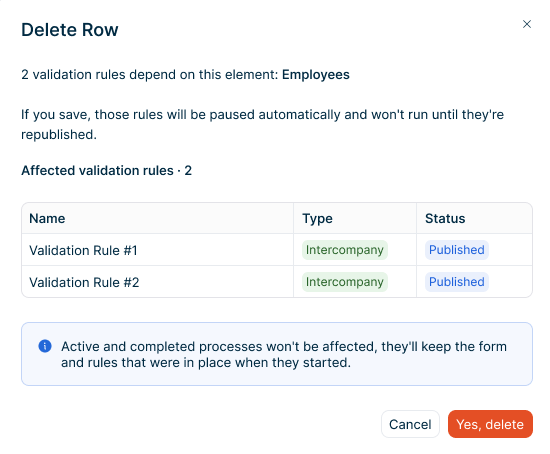
When you delete a row, column, or section element that is referenced by one or more validation rules, the system displays a warning dialog before saving. The dialog lists all affected rules by name, type, and status.

The 'Delete Row' warning dialog is displayed, listing 2 affected validation rules with their type and status.
Impact detection warning dialog

Click Yes, delete to save the template change. All listed validation rules are paused automatically. Paused validation rules do not execute in new data collection processes — existing processes continue using the snapshot version of the validation rules captured when each process started.

Edits that do not affect any rule formula references — such as renaming elements, reordering rows, or adding new rows and columns — do not trigger this warning.

A form template must be in Published state before it can be used in validation rules and reporting packages. When first created, a form template is in Draft state.

To publish a form template, click Publish in the top right of the form template editor.

When you republish a form template that you unpublished in order to edit it, the affected reporting packages move from Invalid to Draft state. You must then publish each reporting package manually to restore it to Published state.

To delete a form template, click the three-dot menu at the end of the row and select Delete. In the confirmation dialog, click Yes, delete.

Form templates that are attached to a reporting package or referenced by validation rules cannot be deleted.