Pivot table CFP Pivot table Dynamic table
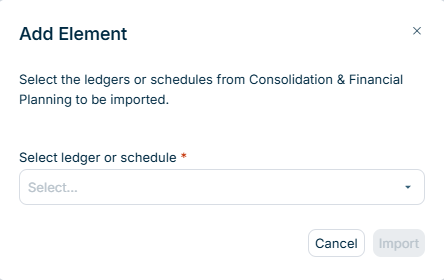
For General ledger Subledger Statistical Ledger For Schedule
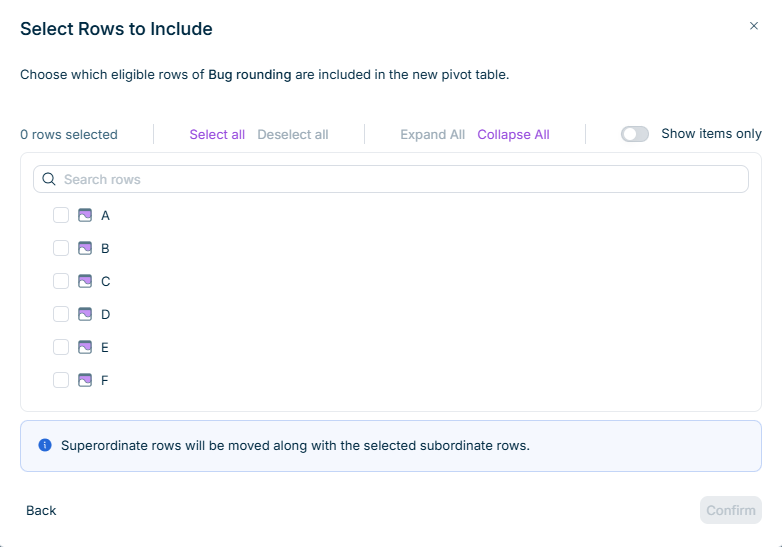
Select all Show items only Item Custom selection Show items only
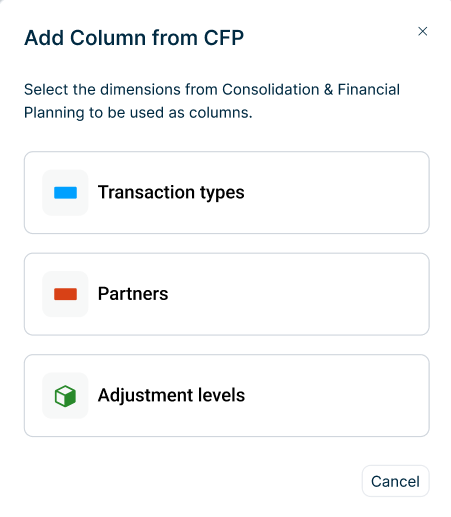
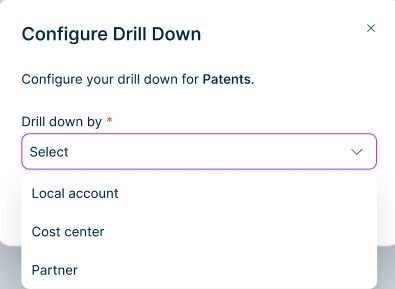
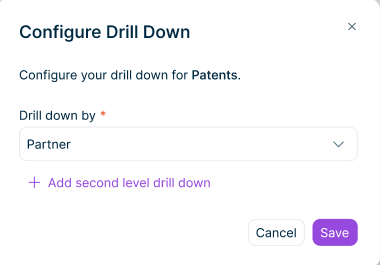
Transaction types Partners Adjustment levels

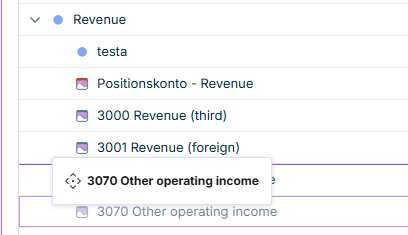
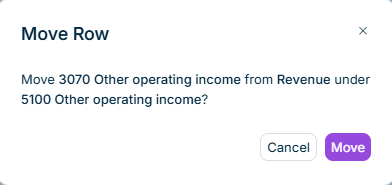
The aggregation of the source superordinate row decreases by the moved row's contribution. The aggregation of the target superordinate row increases by the same amount. The Total Drill-down configurations travel with the moved row and continue to work.
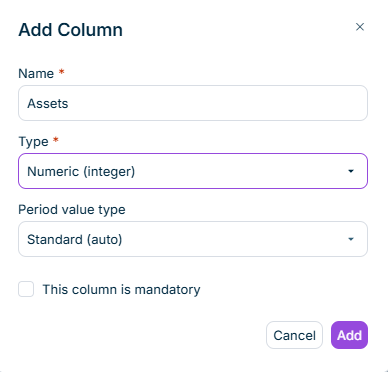
The first column of the table is fixed. The last action column is fixed.
Last updated on Jun 8, 2026