Lucanet Lease Accounting provides a number of general functions for actions such as making tables easier to read and switching quickly between reporting entities for which data shall be collected as the lessee.
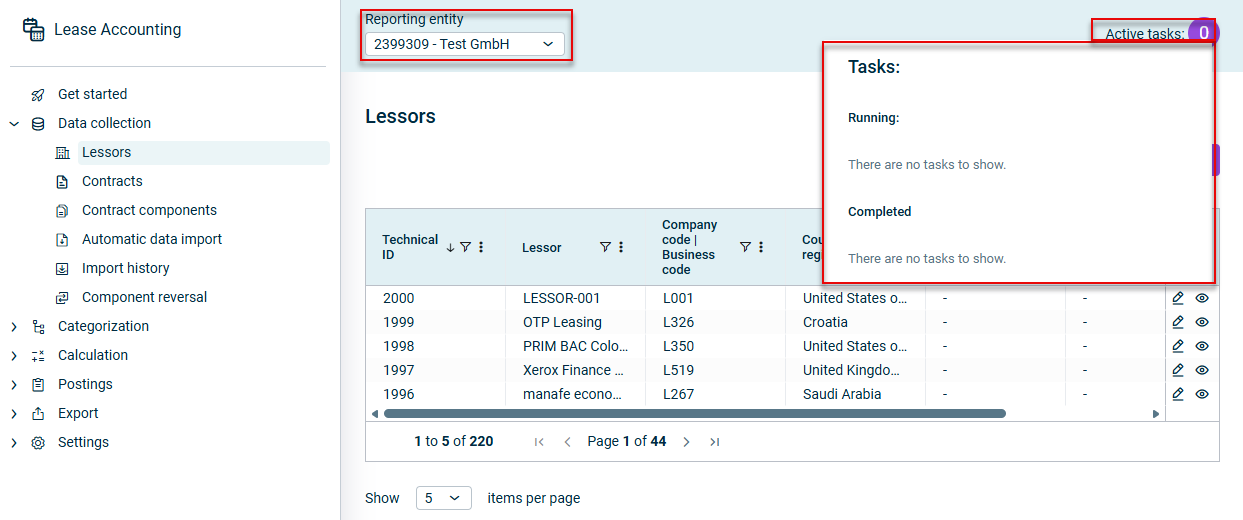
The function bar is located at the top of the Lease Accounting screen. The function bar provides the following general functions:
General functions in the function bar
The following table describes the general functions in the function bar of Lease Accounting:
Function
Description
Select or change reporting entity
In all the workspaces that are used to collect, process, save or export reporting-entity-specific data, you can select or change the reporting entity using the Reporting entity drop-down list.
Show status and log of tasks
Use the Active tasks: button to view a list of the tasks currently being executed in Lease Accounting and their current execution status. For example, you will be able to see whether the Categorization, Calculation and Export steps are complete. For each task, you can view a log that lists the completed tasks or any errors that may have occurred during execution.
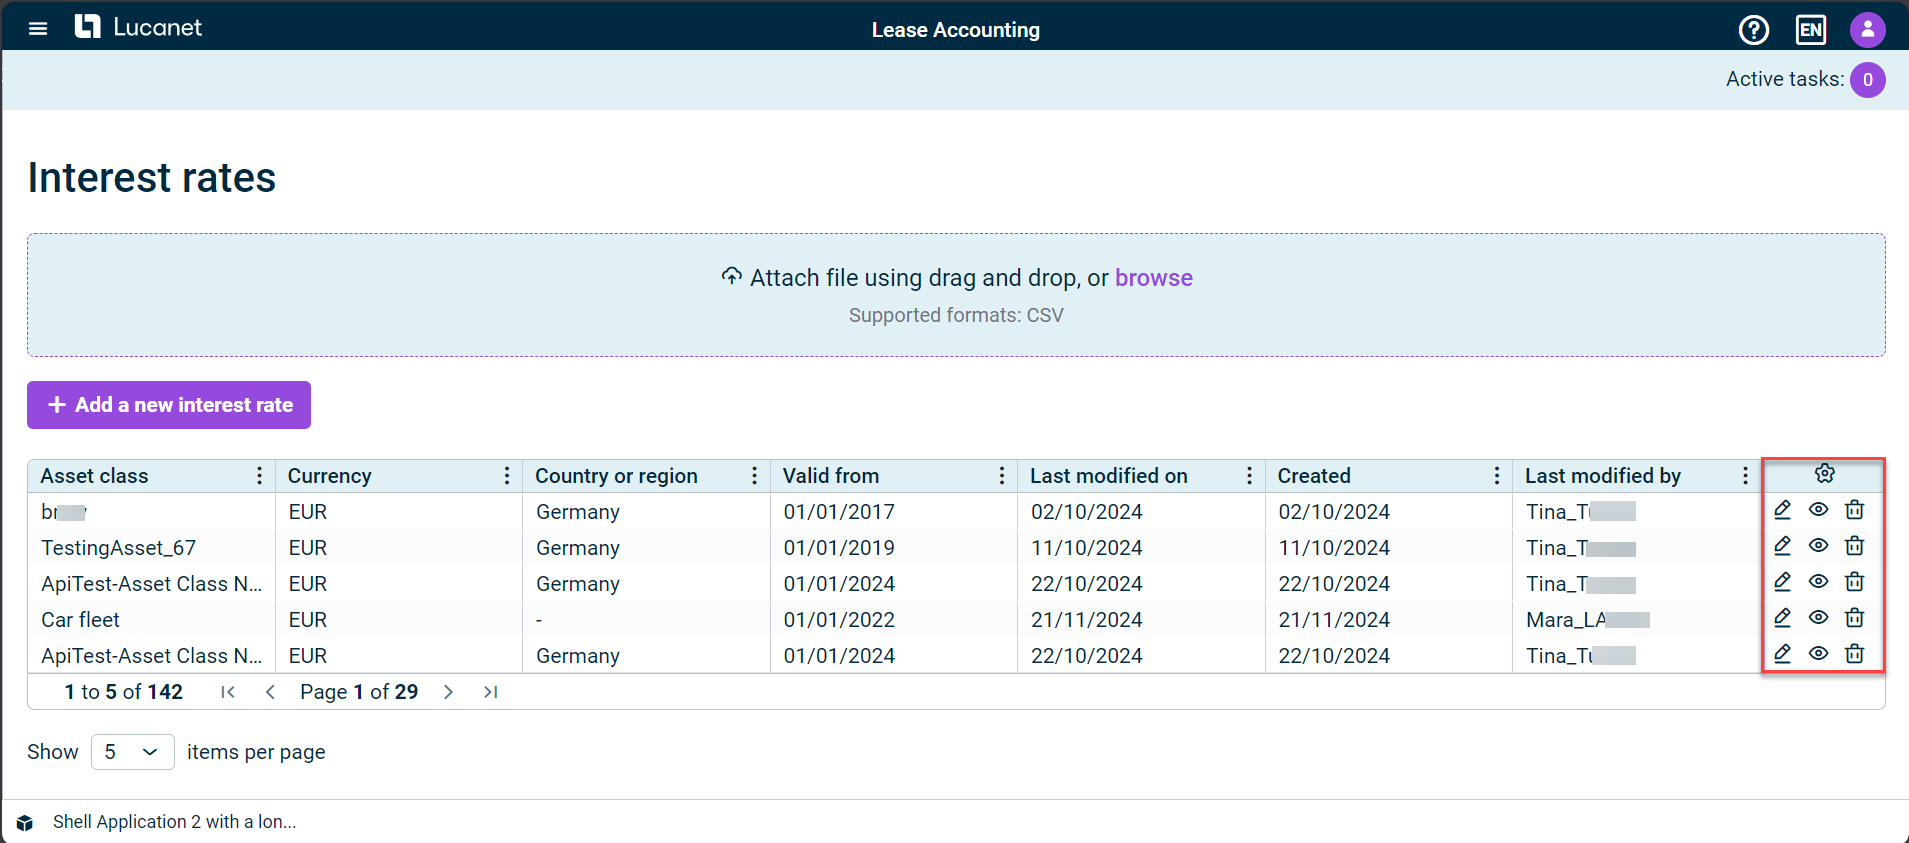
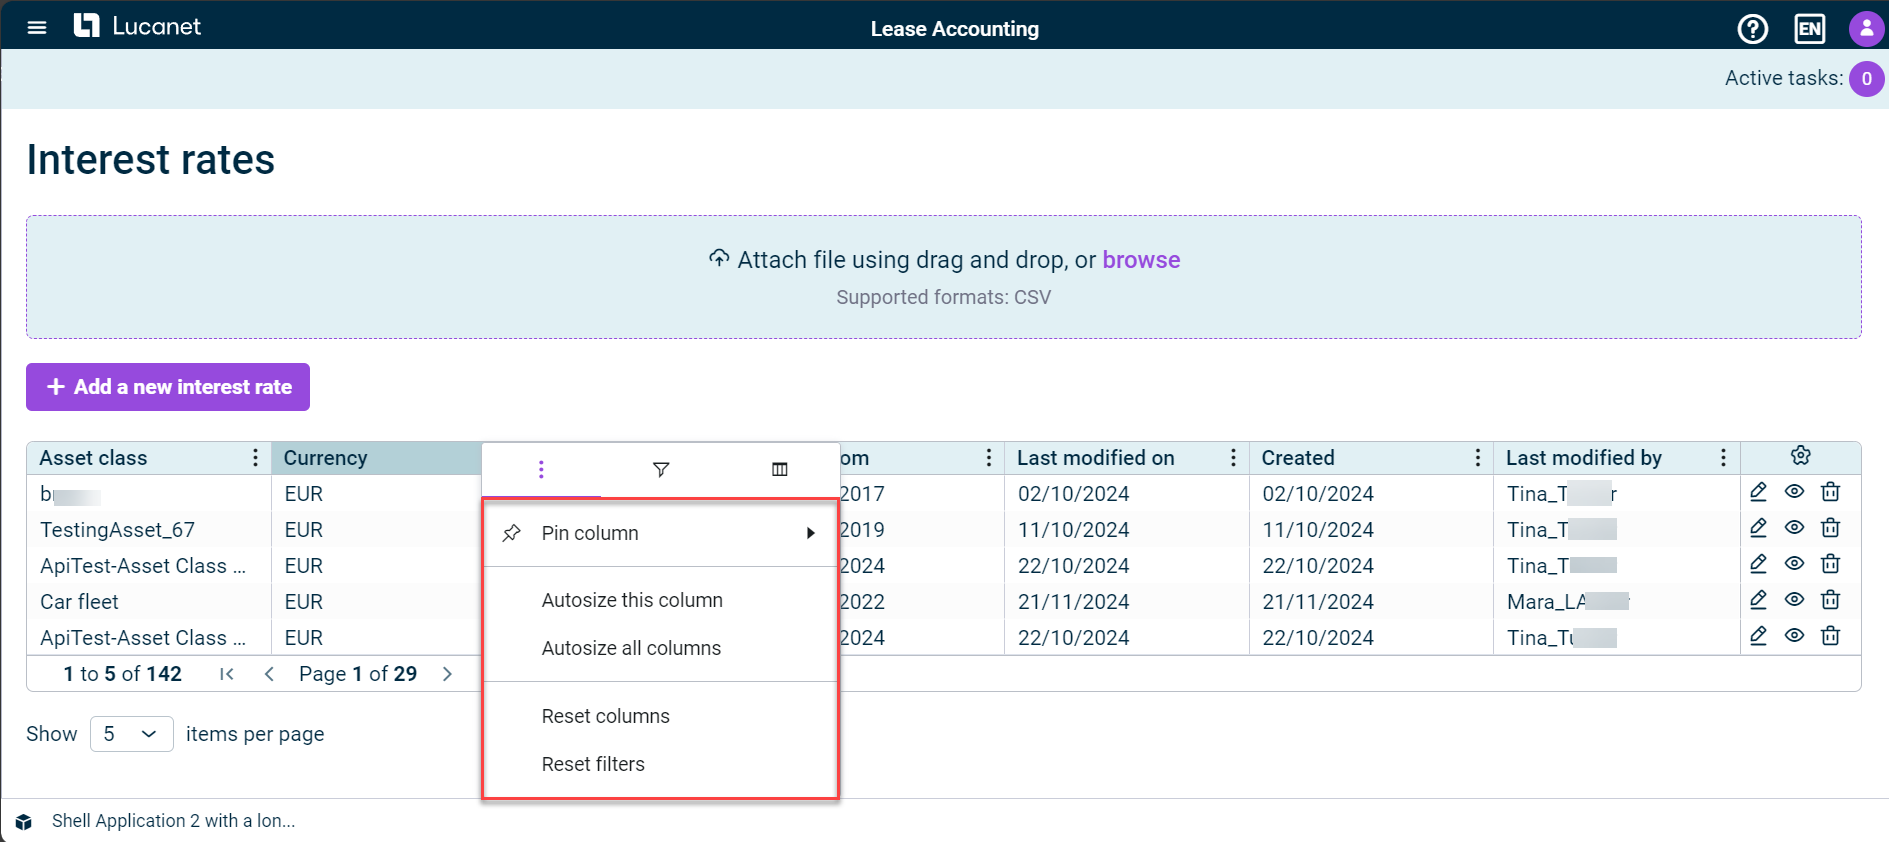
To optimize the view of a table in Lease Accounting, you can configure the columns accordingly. To do this, click the icon in the table header and select one of the following options:
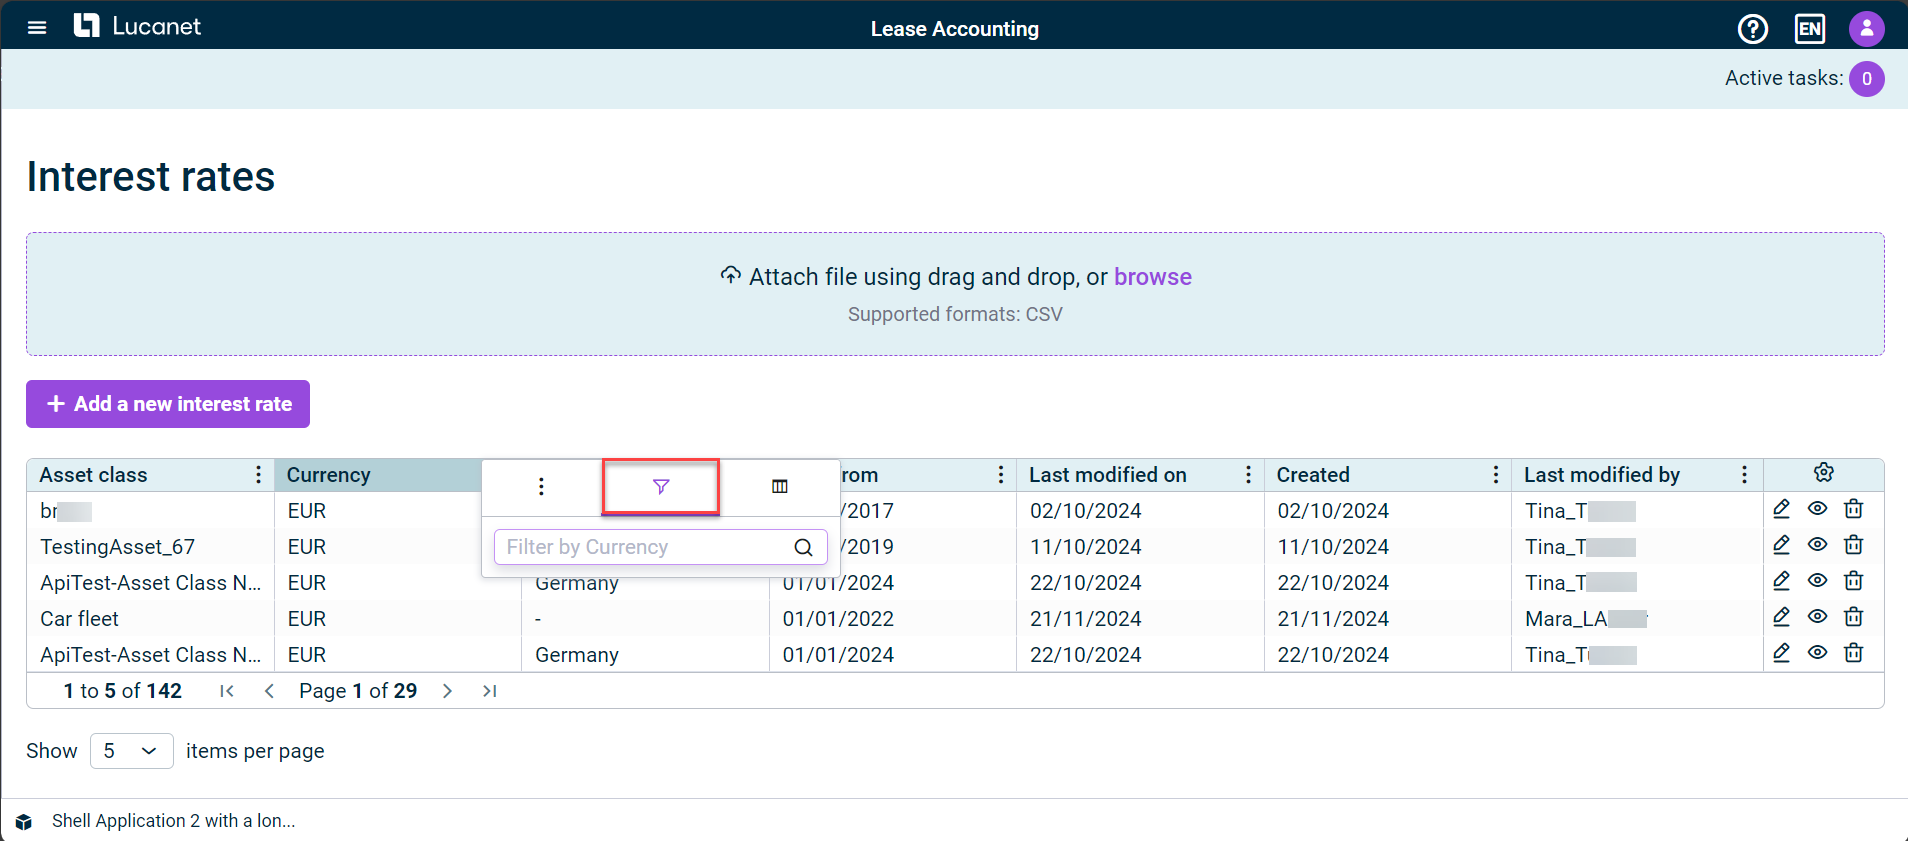
To view specific data or results in a Lease Accounting table, you can filter each column by specific entries. To do this, go to the icon in the table and click the Filter icon . Once this is done, enter the name of the entry whose table data you wish to see in the Search box:
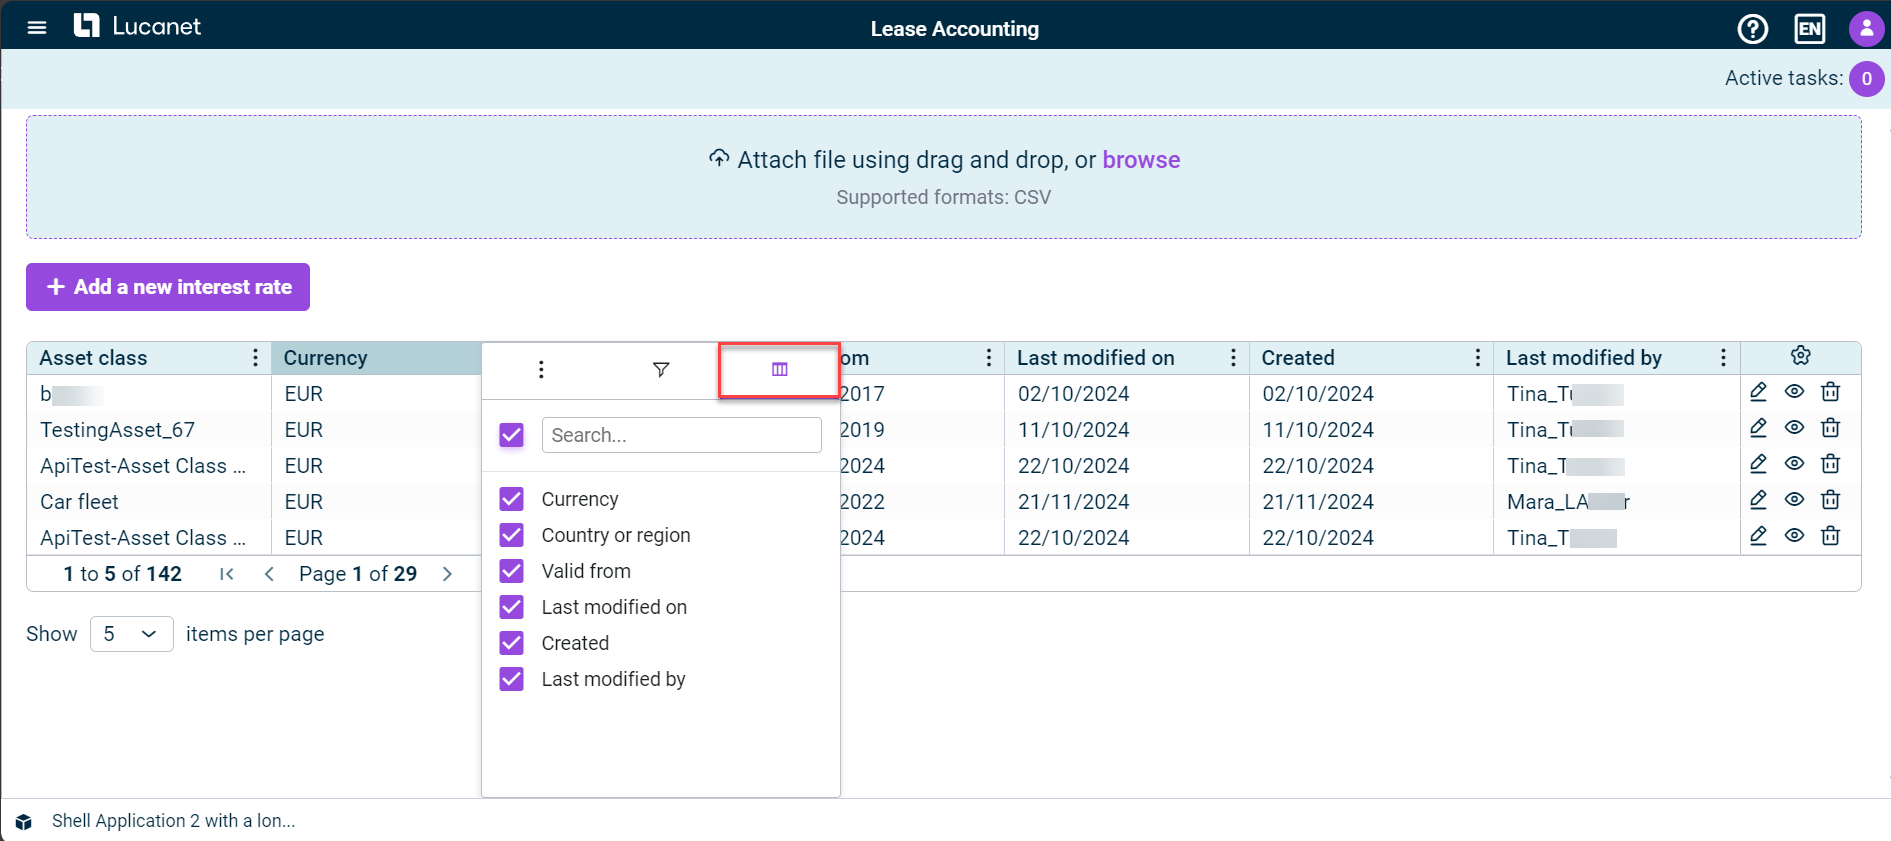
To limit your view to specific columns in a Lease Accounting table, go to the icon in the table and click . Once you have done this, choose one of the following options:
Enter the name of the column you want to hide or show in the Search box
Activate or deactivate the check box for the name of the column you want to hide or show.
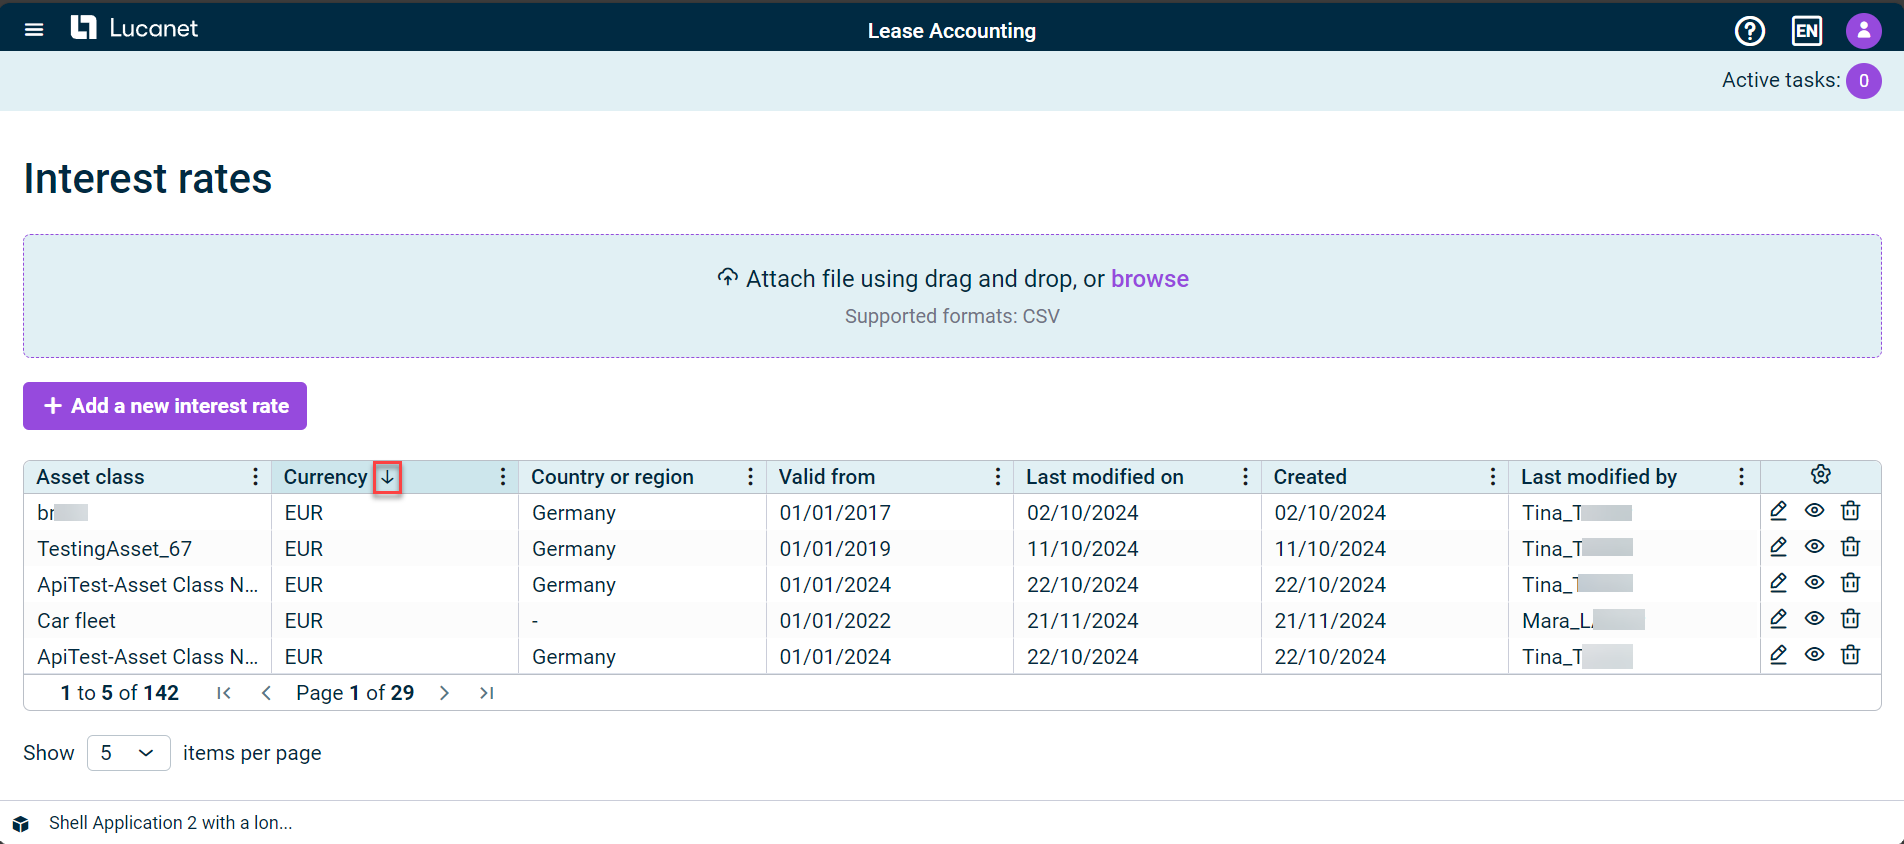
You can sort the data in Lease Accounting table columns alphabetically from A-Z or Z-A or in ascending or descending order. To do this, move the cursor next to the column name in the table header and click the arrow icon that appears:
Sort data in columns
This content was generated using AI and reviewed by Lucanet subject matter experts before publication.