The Notifications section provides a centralized interface for managing notifications from your licensed solutions as well as global and administrative functions, i.e.:

You can view and manage all your notifications in one convenient location, ensuring you never miss important updates about your work.

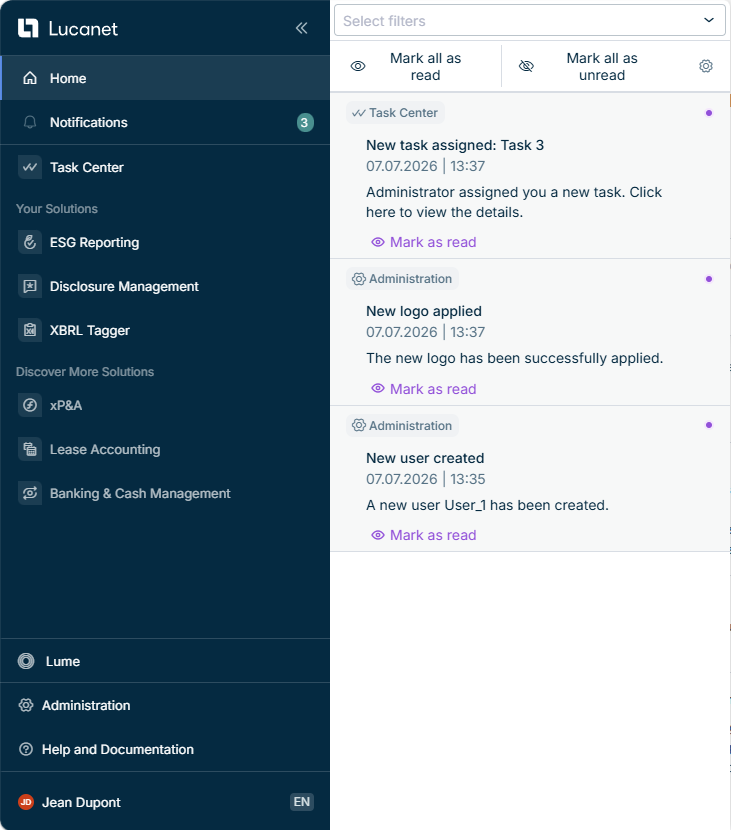
The Notifications section can be found in the main menu of the Lucanet CFO Solution Platform and is displayed as follows, for example:

Displays the 'Notifications' section in the main menu
'Notifications' section in the main menu

When you have unread notifications, a numbered badge appears to indicate the number of unread notifications.

The Notifications section displays your notifications in a centralized list. You only see notifications from the areas you have access to. A detailed list of which events can trigger notifications can be found in the Notification Settings dialog.

Unread notifications are marked with a purple dot in the top-right corner.

For longer notifications, the title and message are displayed in a shortened form. Click Show more to display the full content, and Show less to collapse it again.

The following options are available for managing your notifications:

OptionDescription
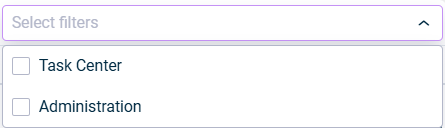
Filter notificationsFilter notifications by source. The available filter options depend on the solutions and modules you have access to.
Notification filter
Mark as readMark individual notifications as read.
Mark as unreadMark individual notifications as unread.
Mark all as readMark all notifications as read.
Mark all as unreadMark all notifications as unread.
Navigate to sourceClick the notification to navigate to the section where it was generated.
1

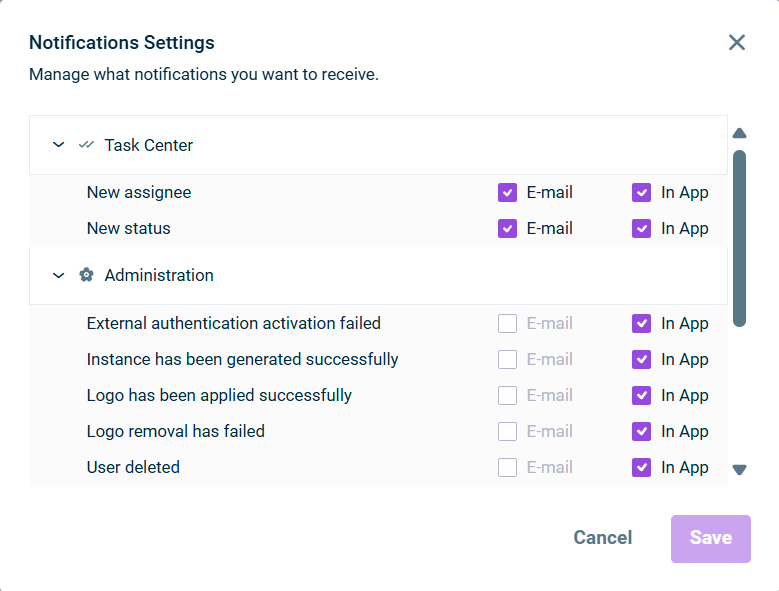
Open the Notifications section and click the icon in the top-right corner. The Notifications Settings dialog will be displayed as follows, for example:

Displays the 'Notifications Settings' dialog
'Notifications Settings' dialog
2

Expand each section to view detailed events for which you can set up notifications.

3

For each event, choose to receive notifications via E-mail and/or In App.

4

Click Save to apply your settings.