Regular Within a single form template (intra-form) Between multiple form templates (inter-form)
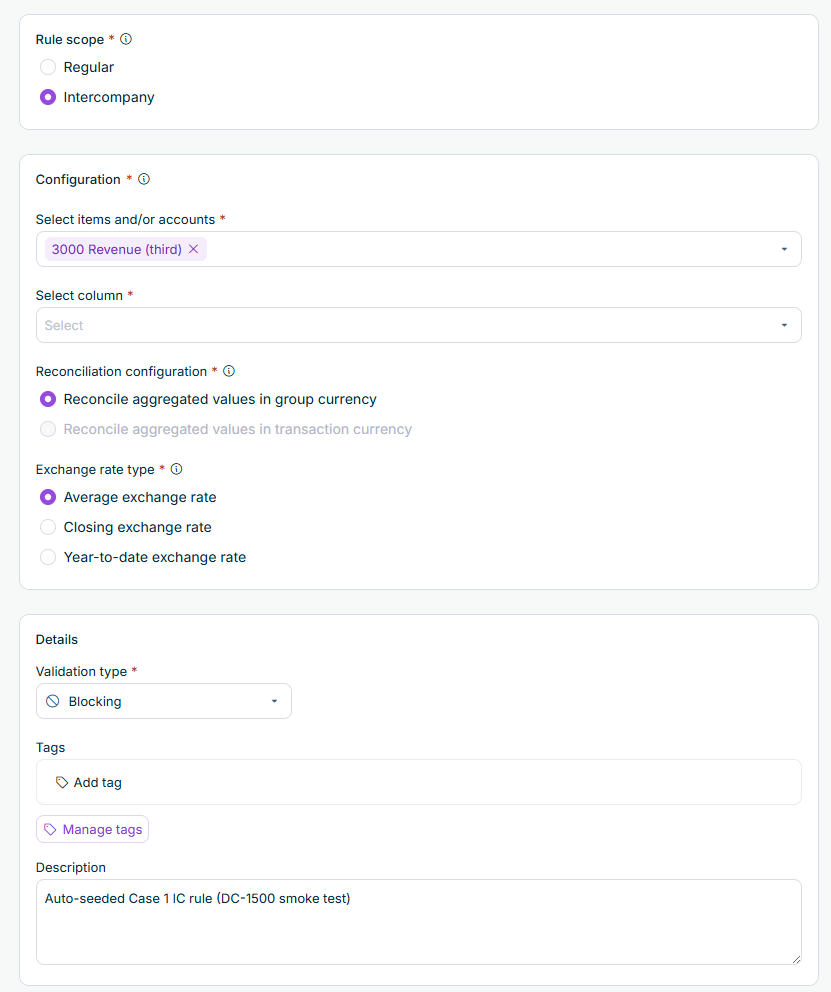
Intercompany
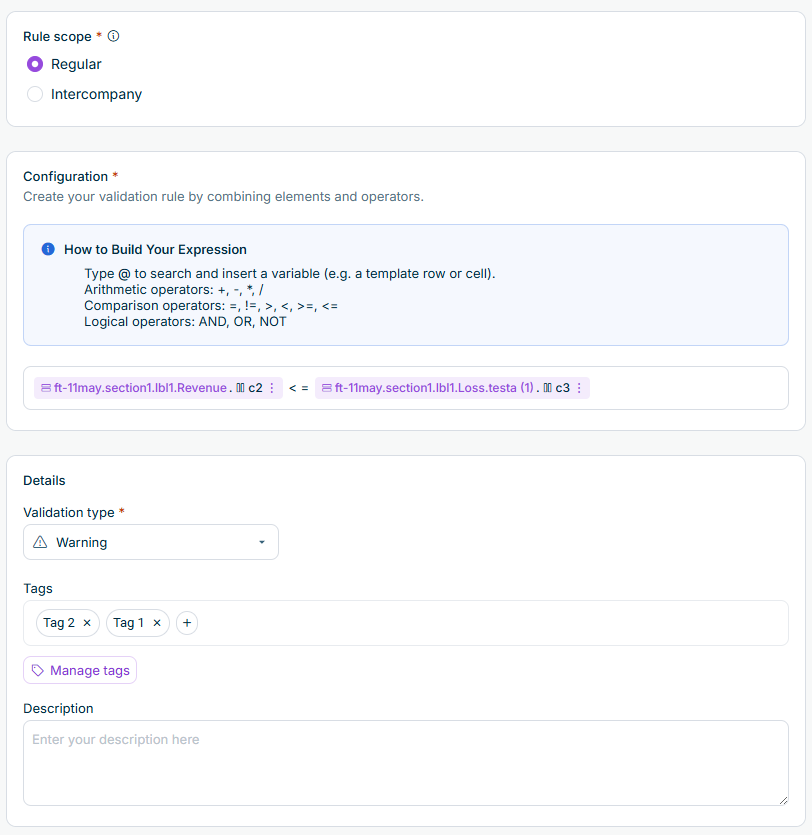
BalanceSheet.Assets.EndingBalance- =!=><>=<=- +-*/- ANDORNOT | |
- - | |

Last updated on May 28, 2026