Attributes are used to define multilingual descriptions or customer-specific information for Lucanet elements.

For example, you can use attributes to define the names of your accounts in multiple languages.

For an attribute to be available and definable for a Lucanet element, it must be created and activated for the dimension of that element.

The value of an attribute can then be defined in the element properties.

This chapter describes how to create an attribute and activate it for a dimension.

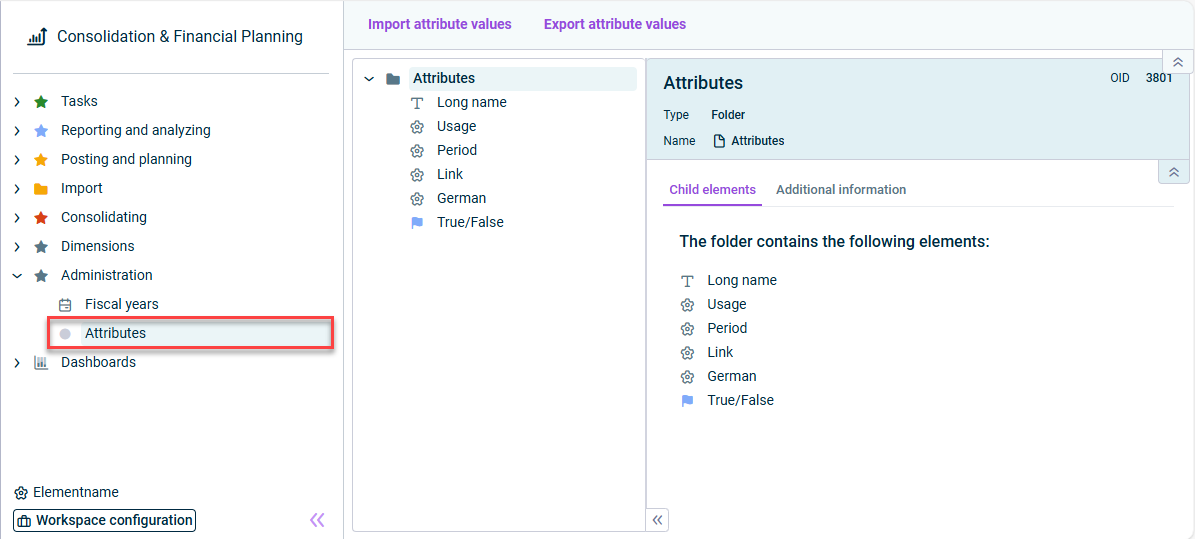
Attributes are managed in the Attributes workspace. By default, the workspace is located in the Overview under the Administration folder, and is displayed as follows:

Shows the 'Attributes' workspace
'Attributes' workspace

The overview and all folders and workspaces contained therein can be freely defined in the Workspace configuration. This means that the workspaces in your Lucanet environment may have a different name and/or be found in a different location in your overview.

To create an attribute:

1

Open the Attributes workspace and right-click the Attributes root folder or a folder.

2

Choose Create | Attribute from the context menu.

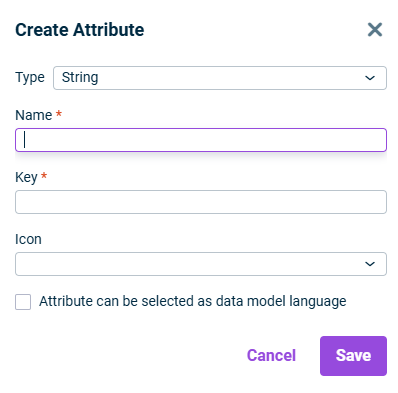
The Create Attribute dialog is displayed:

Shows the dialog 'Create attribute'
Create attribute
3

Configure the available options as described below.

4

Click Save.

The following options are available when creating attributes:

Type of the attribute. The following types are available:

  • String
  • Integer
  • Floating point number
  • Date
  • True/False

Name of the attribute

Key under which the attribute values are to be saved

Icon to be displayed in front of the attribute name in the user interface

Activate if you want to use this attribute to assign an alternative description to your Lucanet elements in a different language.

If this option is activated, the new display language can then be selected as the data model language at the bottom of the menu (see Changing the Data Model Language on the Lucanet CFO Solution Platform).

This check box is only available for attributes of type String.

An attribute is only available for the Lucanet elements for whose dimensions this attribute is activated.

I.e. if you want to specify descriptions for data levels in other languages, then the attribute for this language must be activated for the Data levels dimension.

To configure an attribute and activate it for one or more dimension(s):

1

Choose the attribute in the tree view.

2

Click Edit at the top right of the detail view.

The editing mode is displayed as follows, for example:

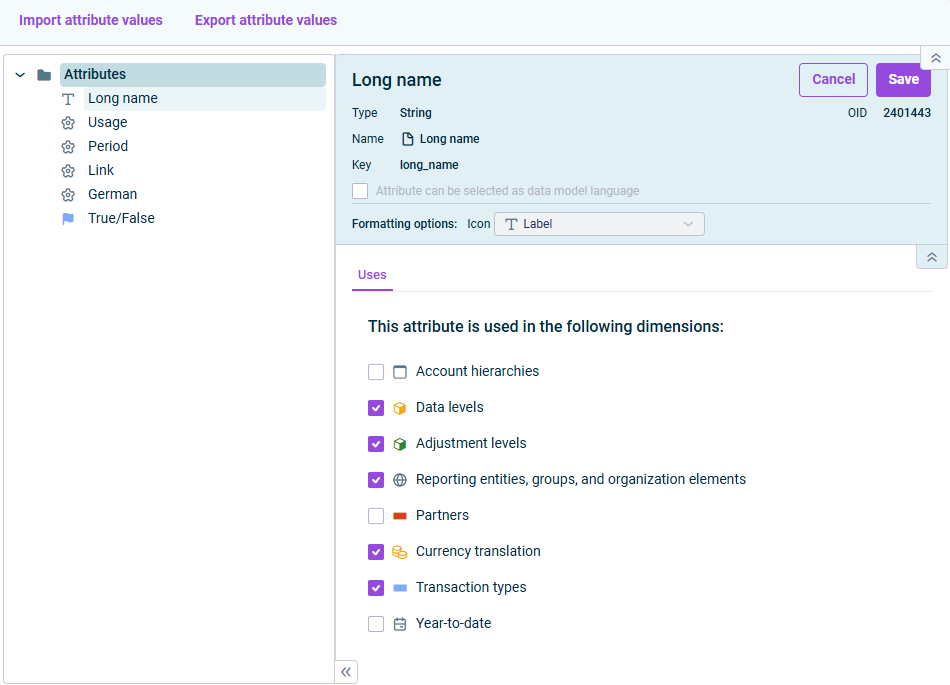
Shows the detailed view of an attribute of type string
Configuring the properties of an attribute
3

If necessary, change the general properties of the attribute in the upper area (see Available Options).

4

On the Uses tab, specify the dimensions for whose elements the attribute can be used, by activating the corresponding check box(es).

The values of the attribute can then be defined in the element properties on the Attributes tab.

5

Click Save.

To avoid entering attribute values individually for each Lucanet element, you can export all attribute values to an Excel file, complete them there, and import them again.

For an export of attribute values to be possible, at least one attribute must have been created.

To export attribute values:

1

Open the Attributes workspace and click Export attribute values at the top of the detail view.

2

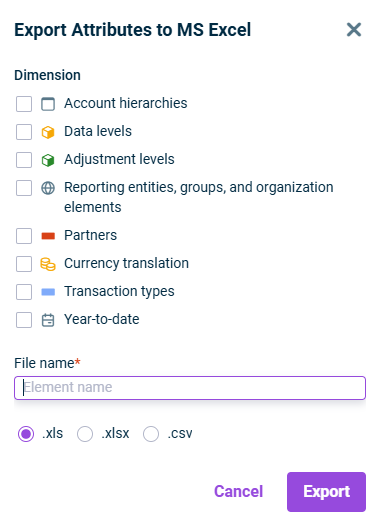
The Export Attributes to MS Excel dialog is displayed.

Shows the dialog 'Exporting attribute values to MS Excel'
Exporting attribute values
3

Select the dimensions for whose elements the attribute values should be exported.

4

Specify the File name of the export file.

5

Choose the desired export format.

6

Click Export.

The export file is saved in your download directory and you can add, change, or delete the attribute values for all elements of the selected dimensions.

The attribute values that you have edited in an export file can be imported into Lucanet again at any time. To do this, click Import attribute values in the Attributes workspace and upload the desired file.

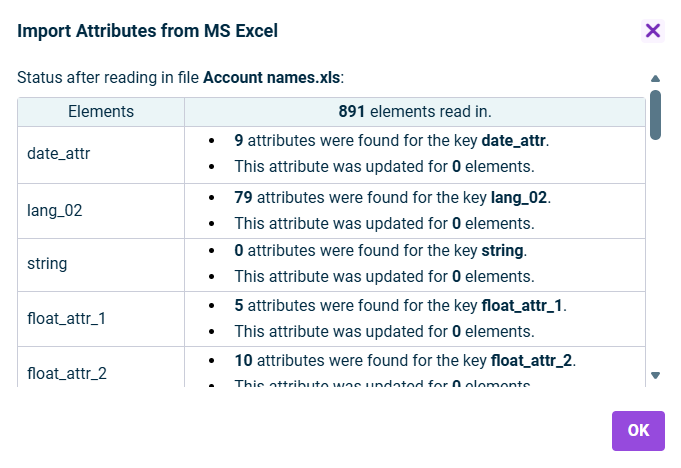
After the import, the import status is displayed in a separate dialog as follows, for example:

Shows the dialog 'Importing attributes from MS Excel'
Importing attributes